

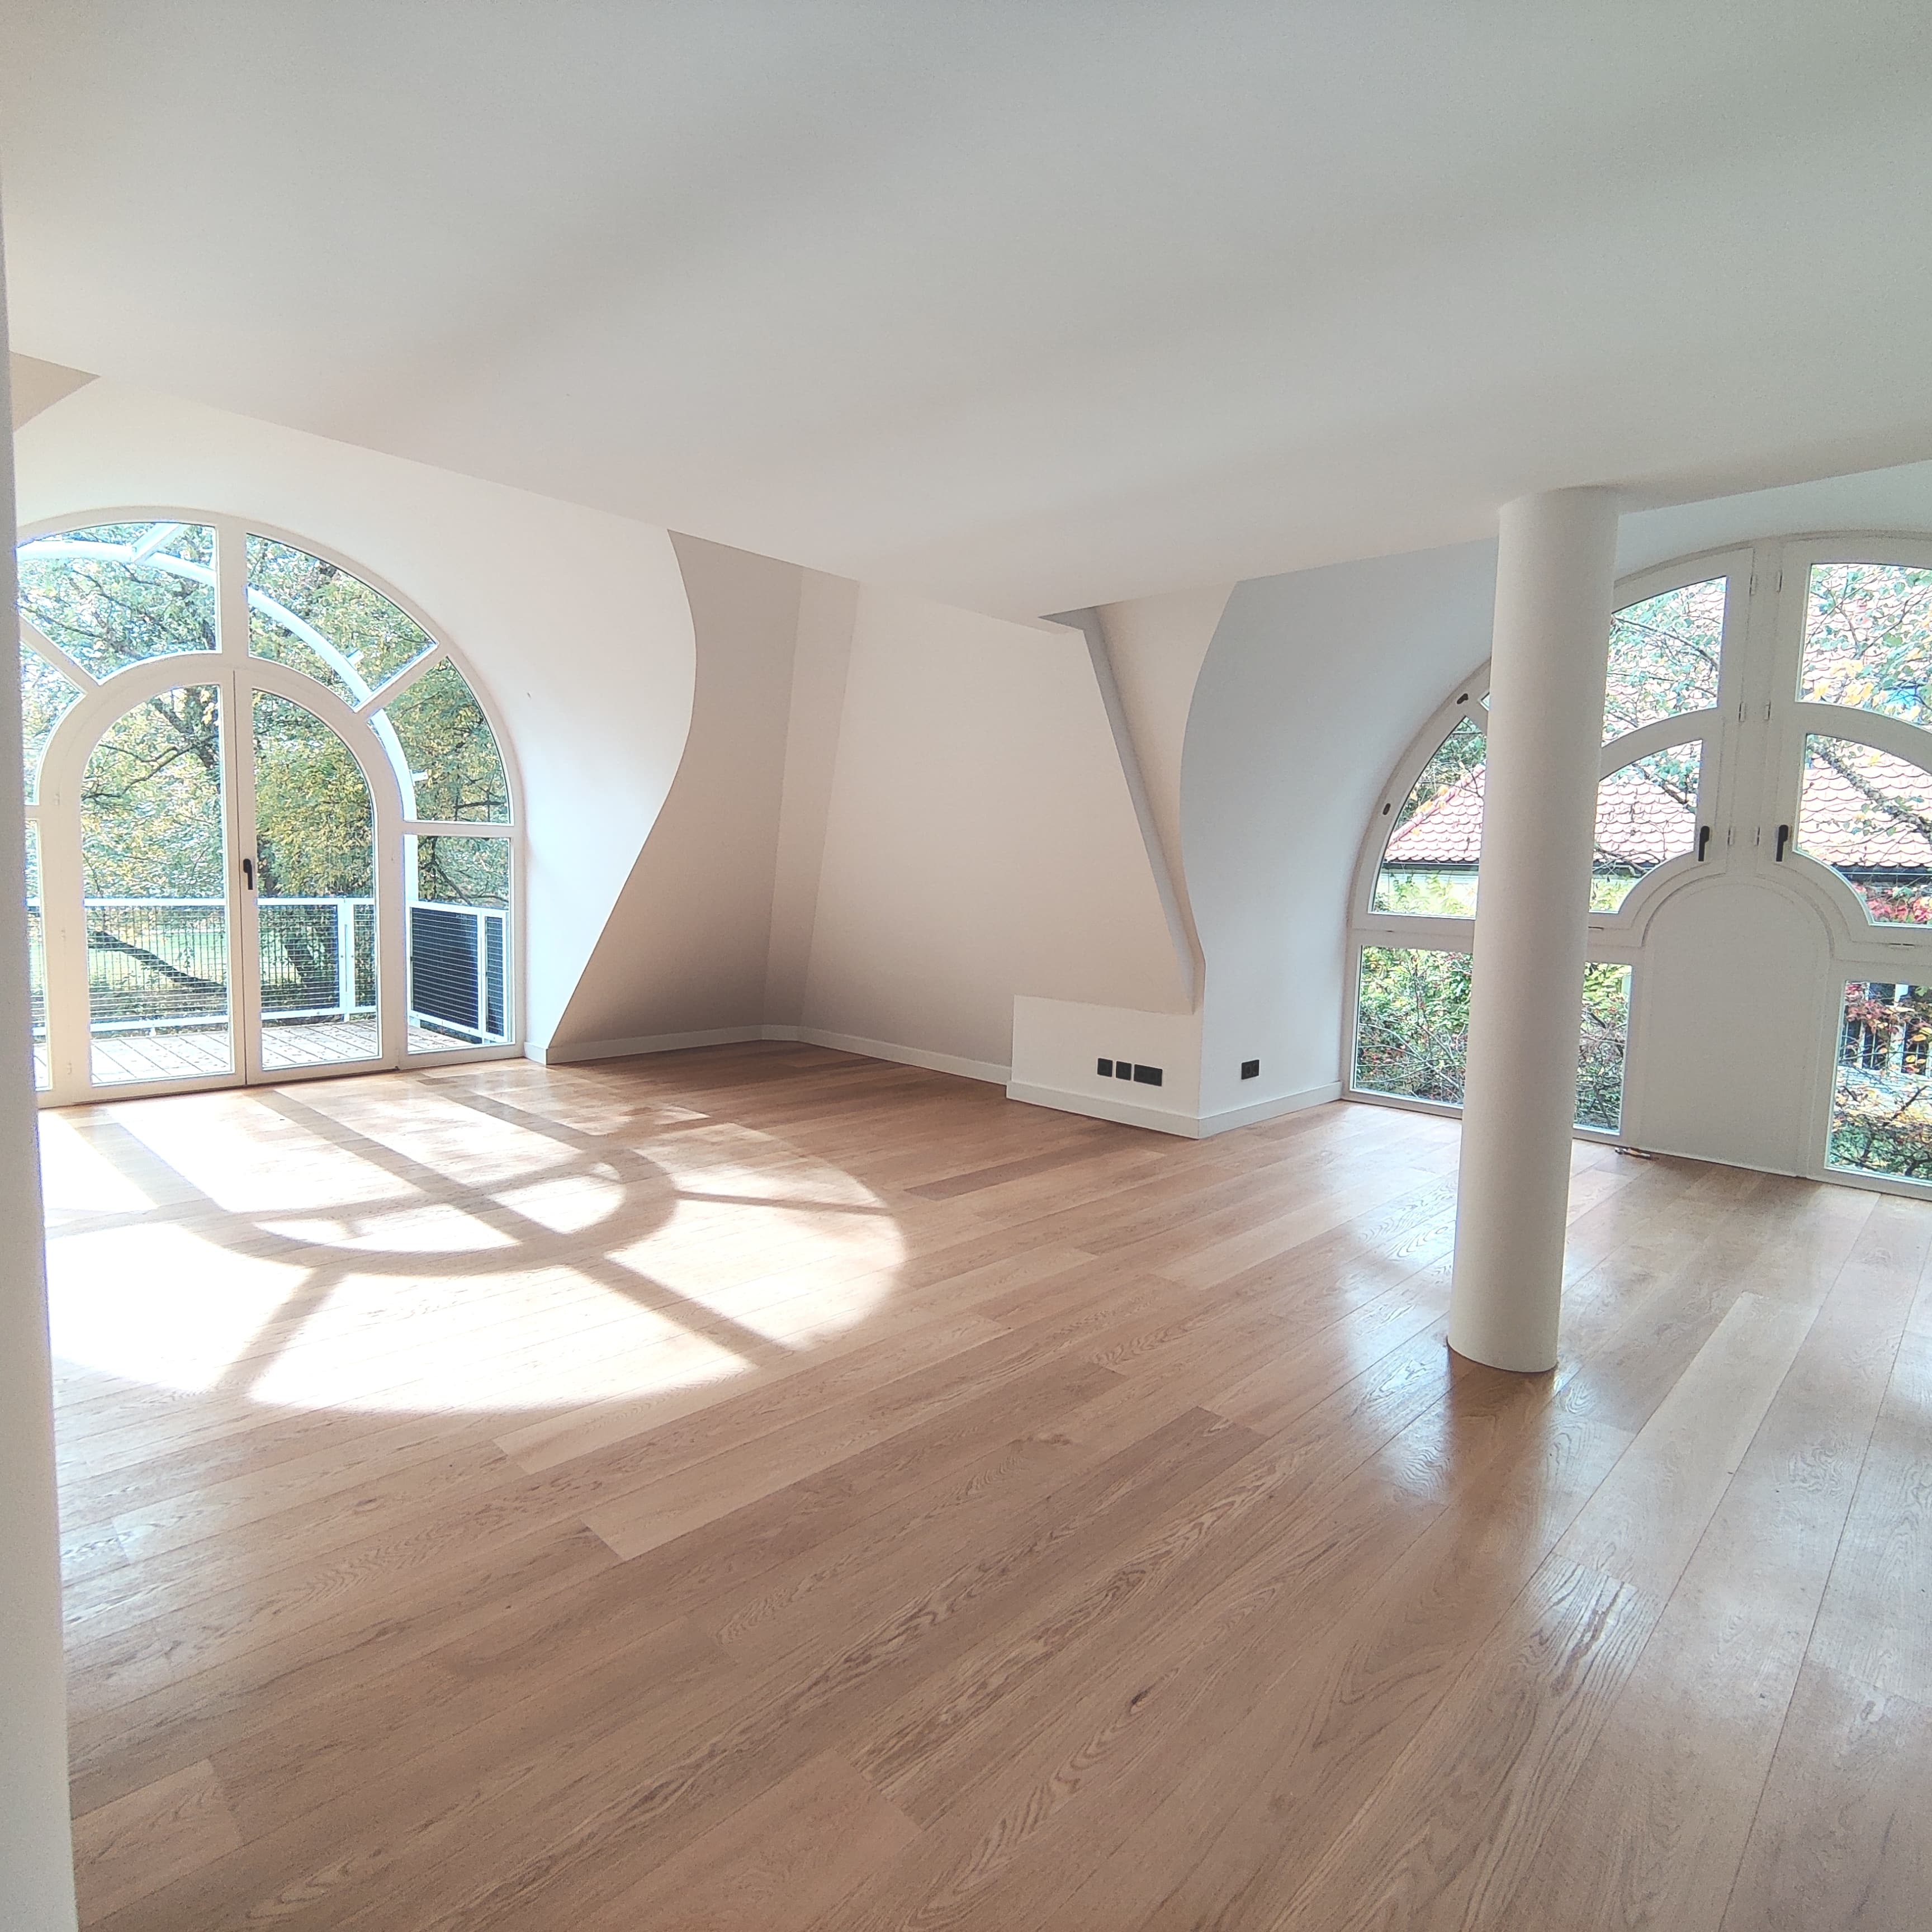
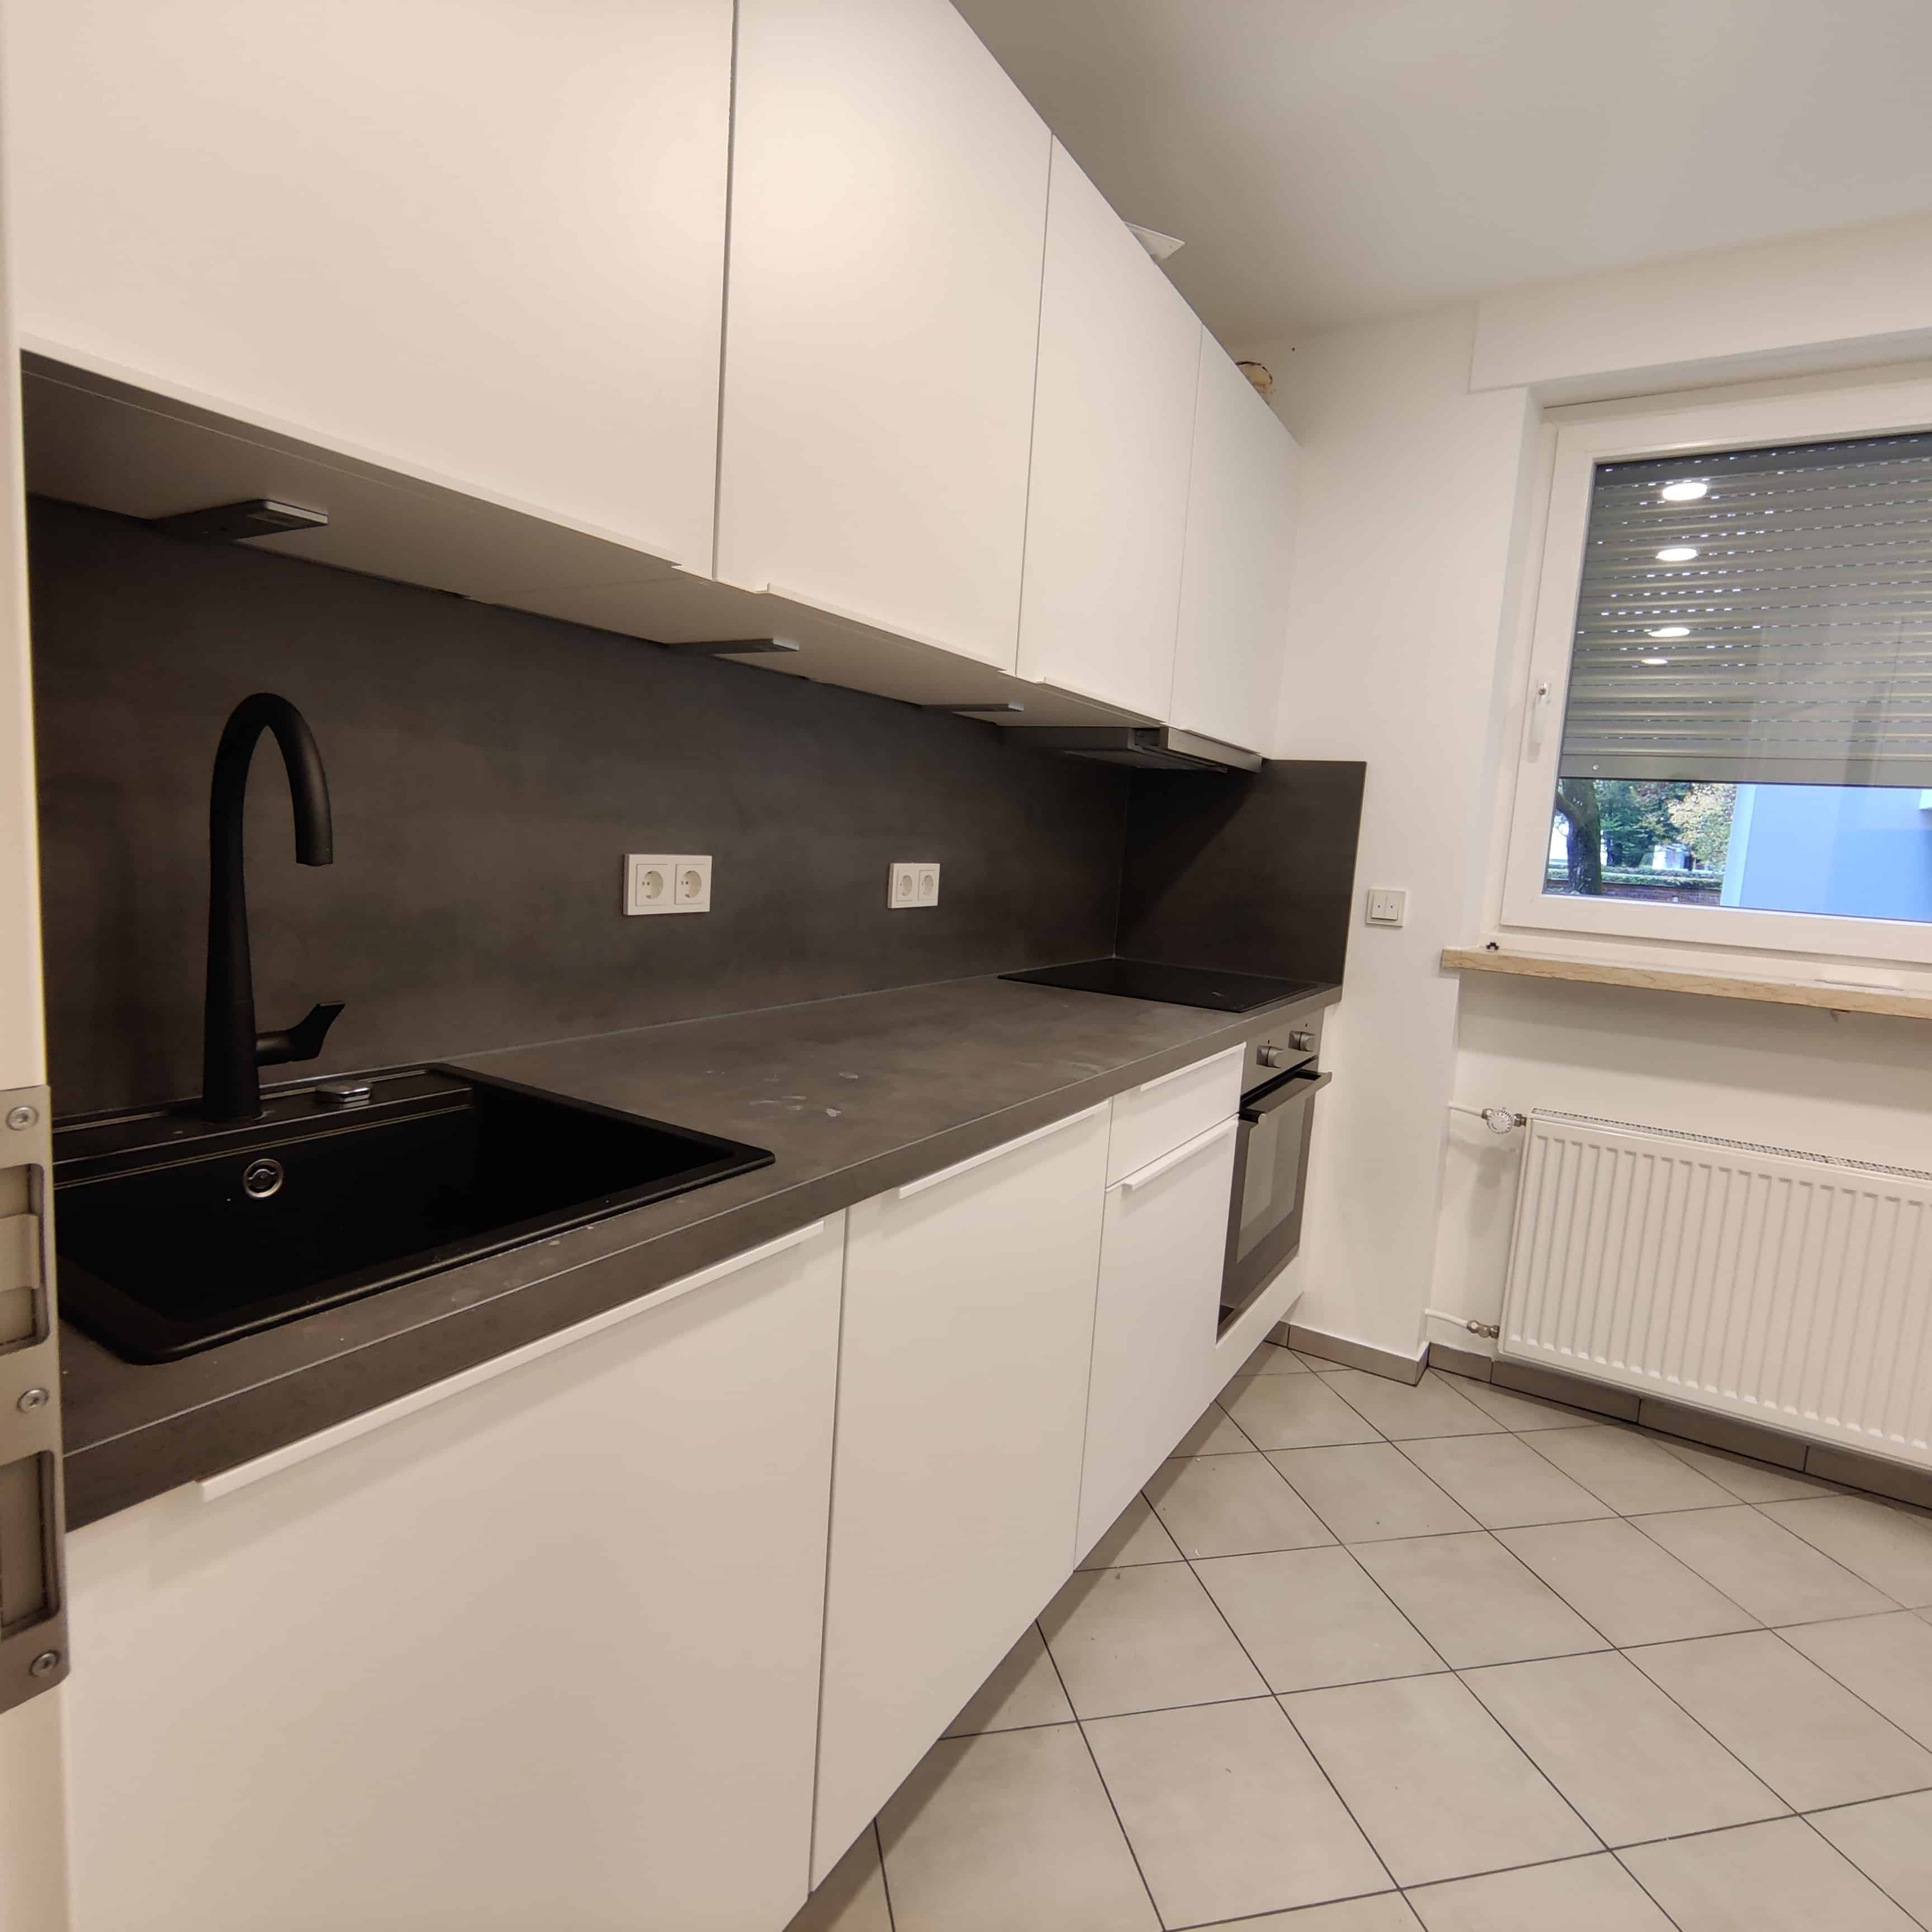
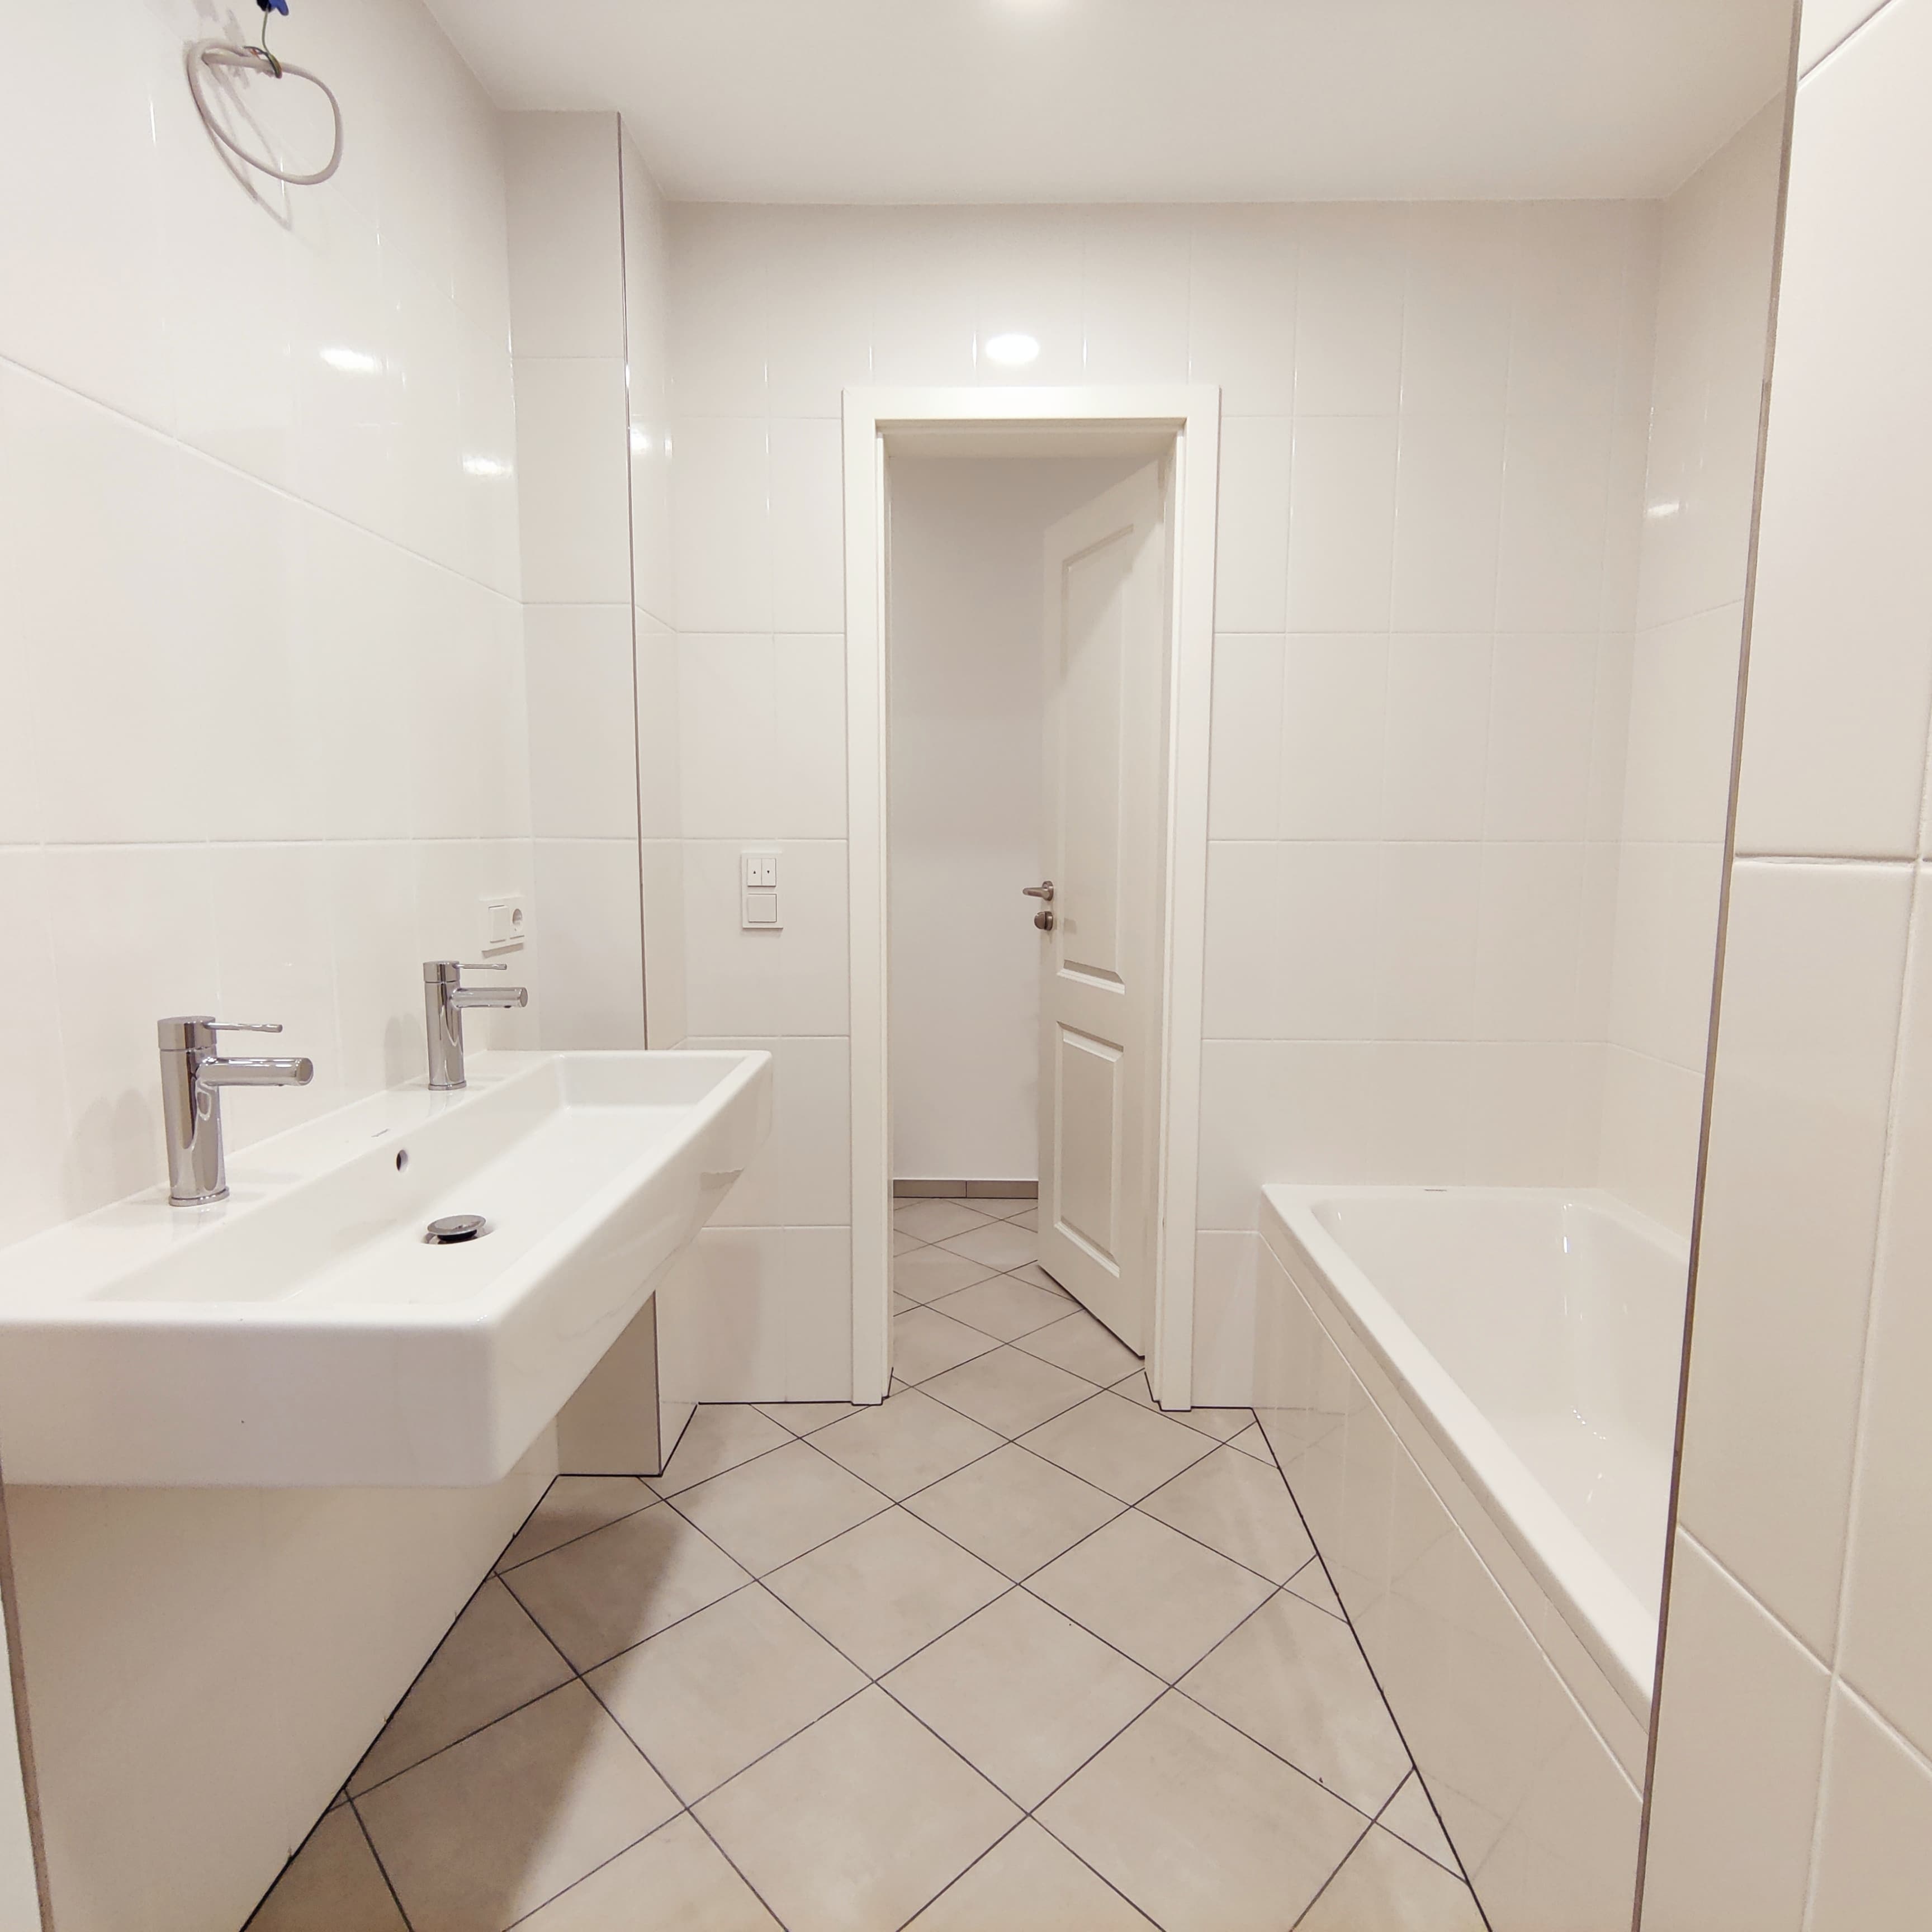
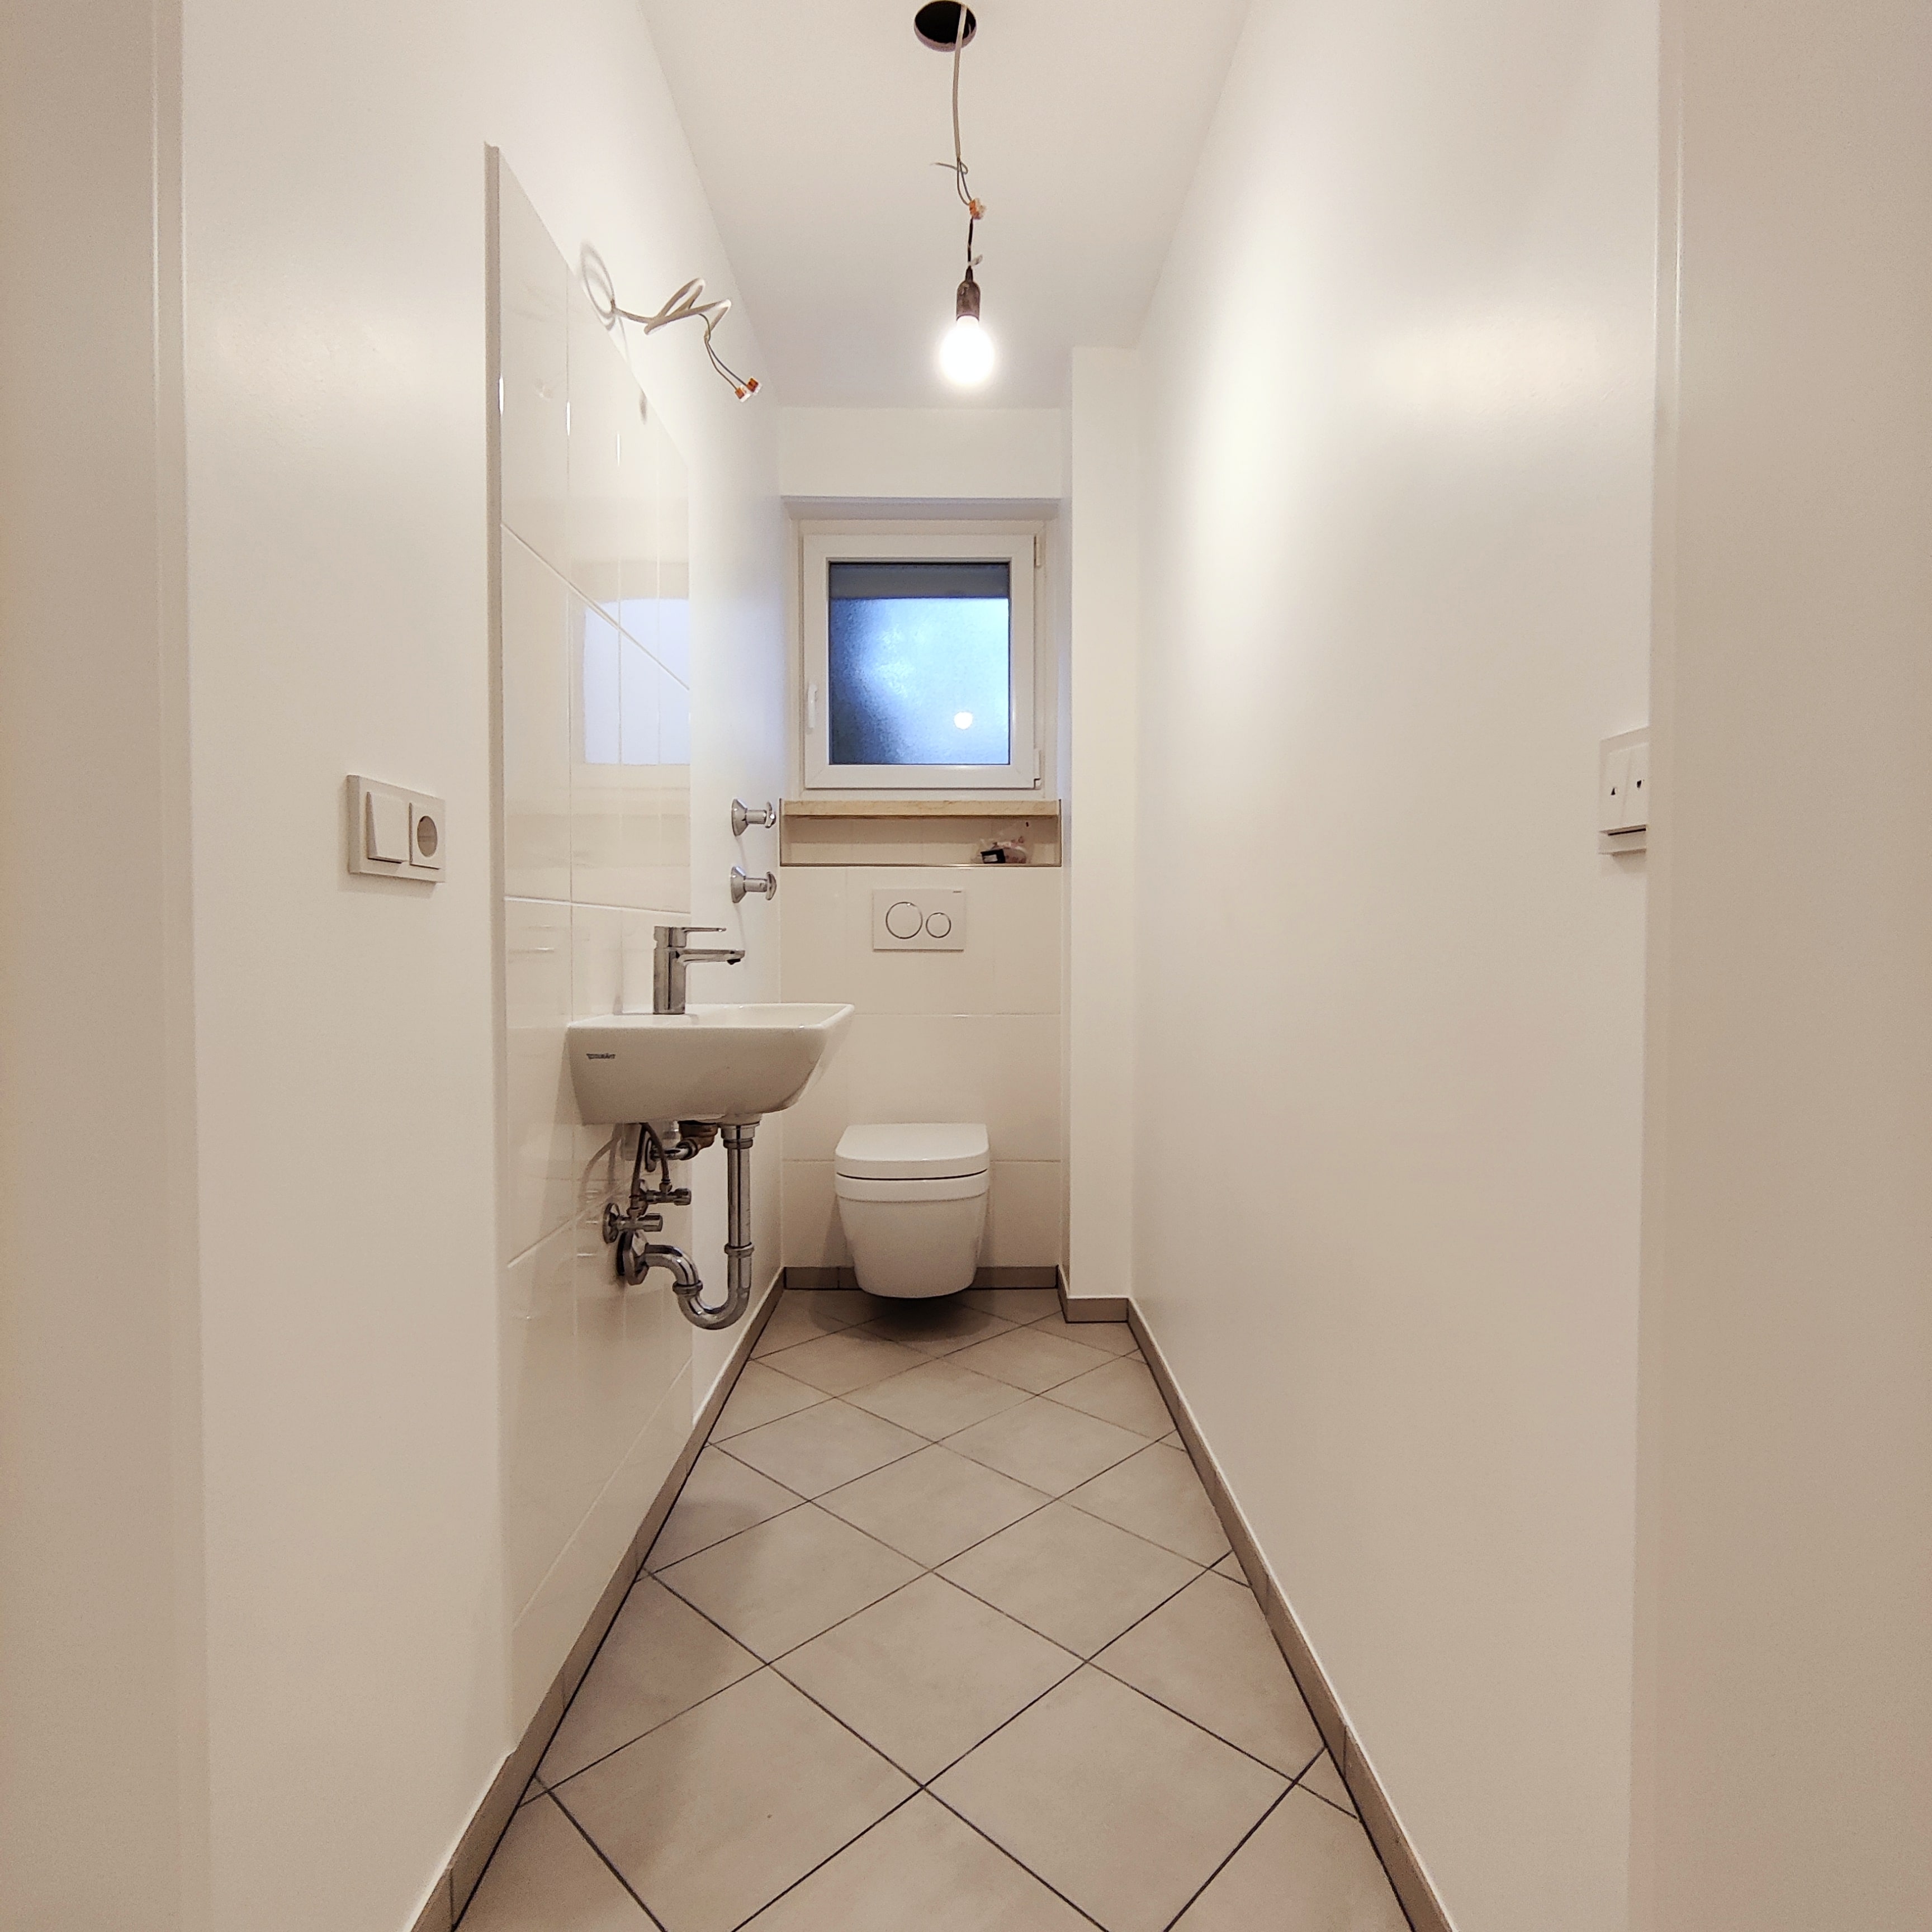
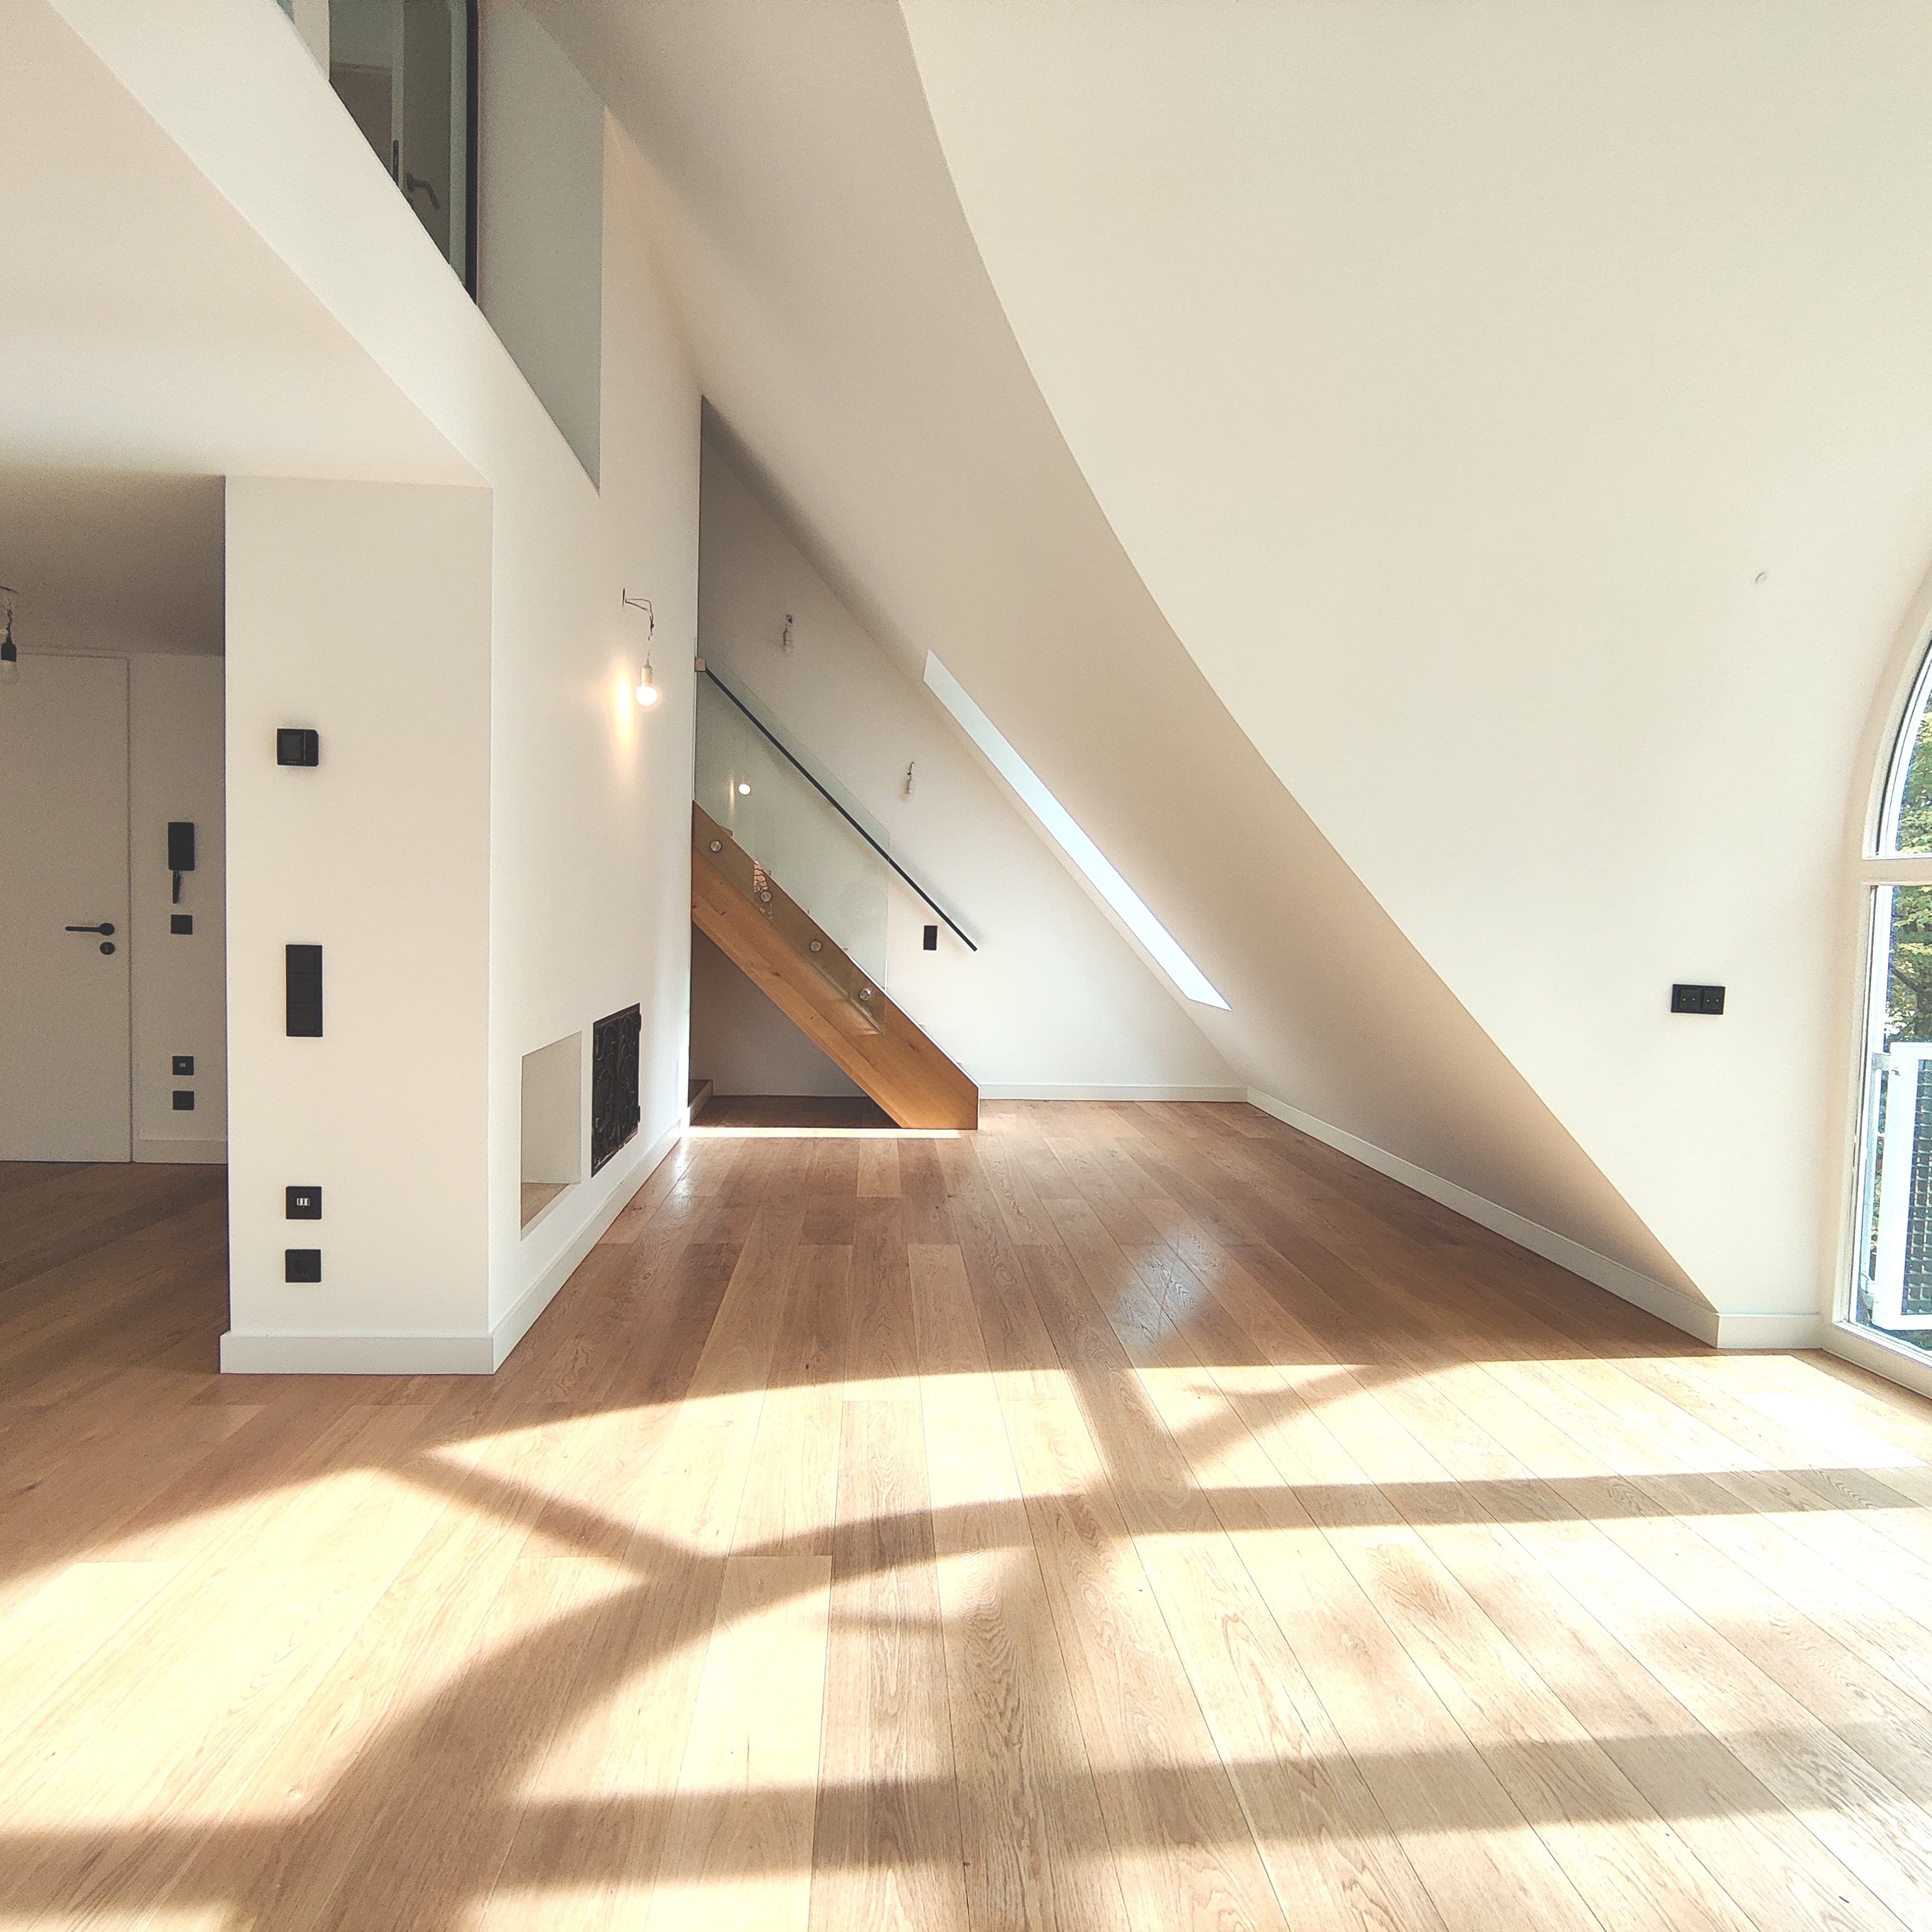
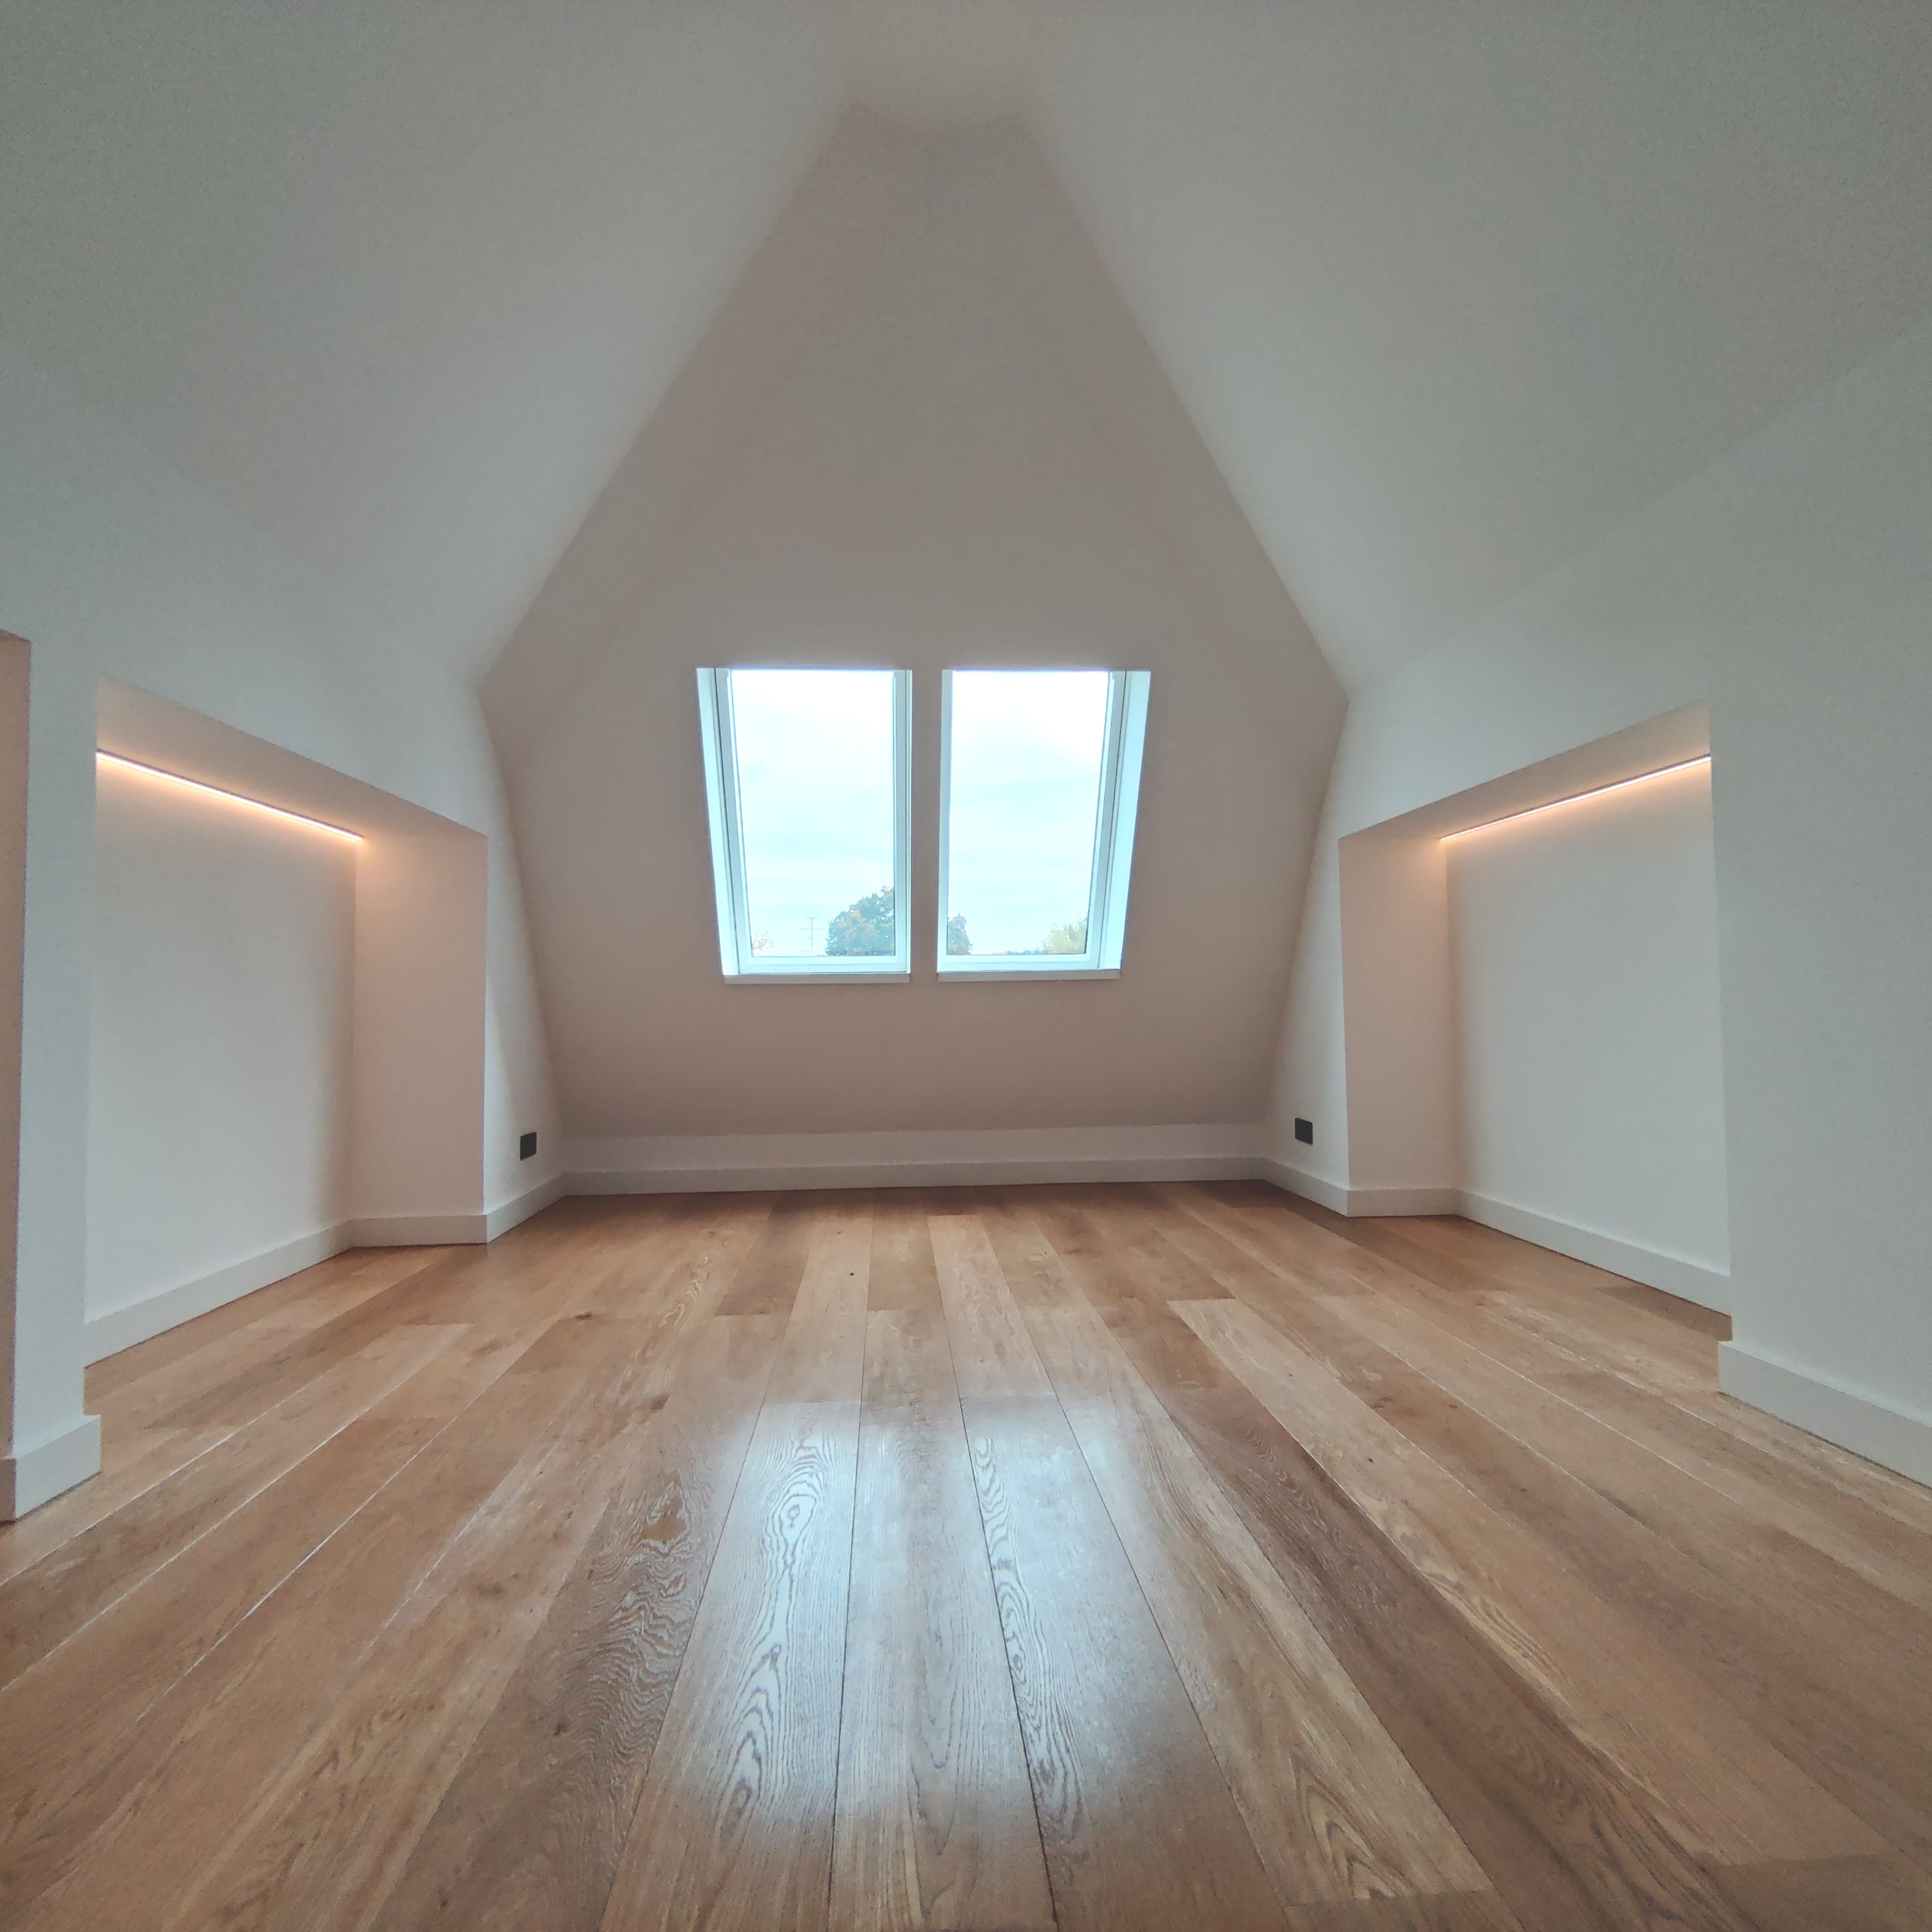
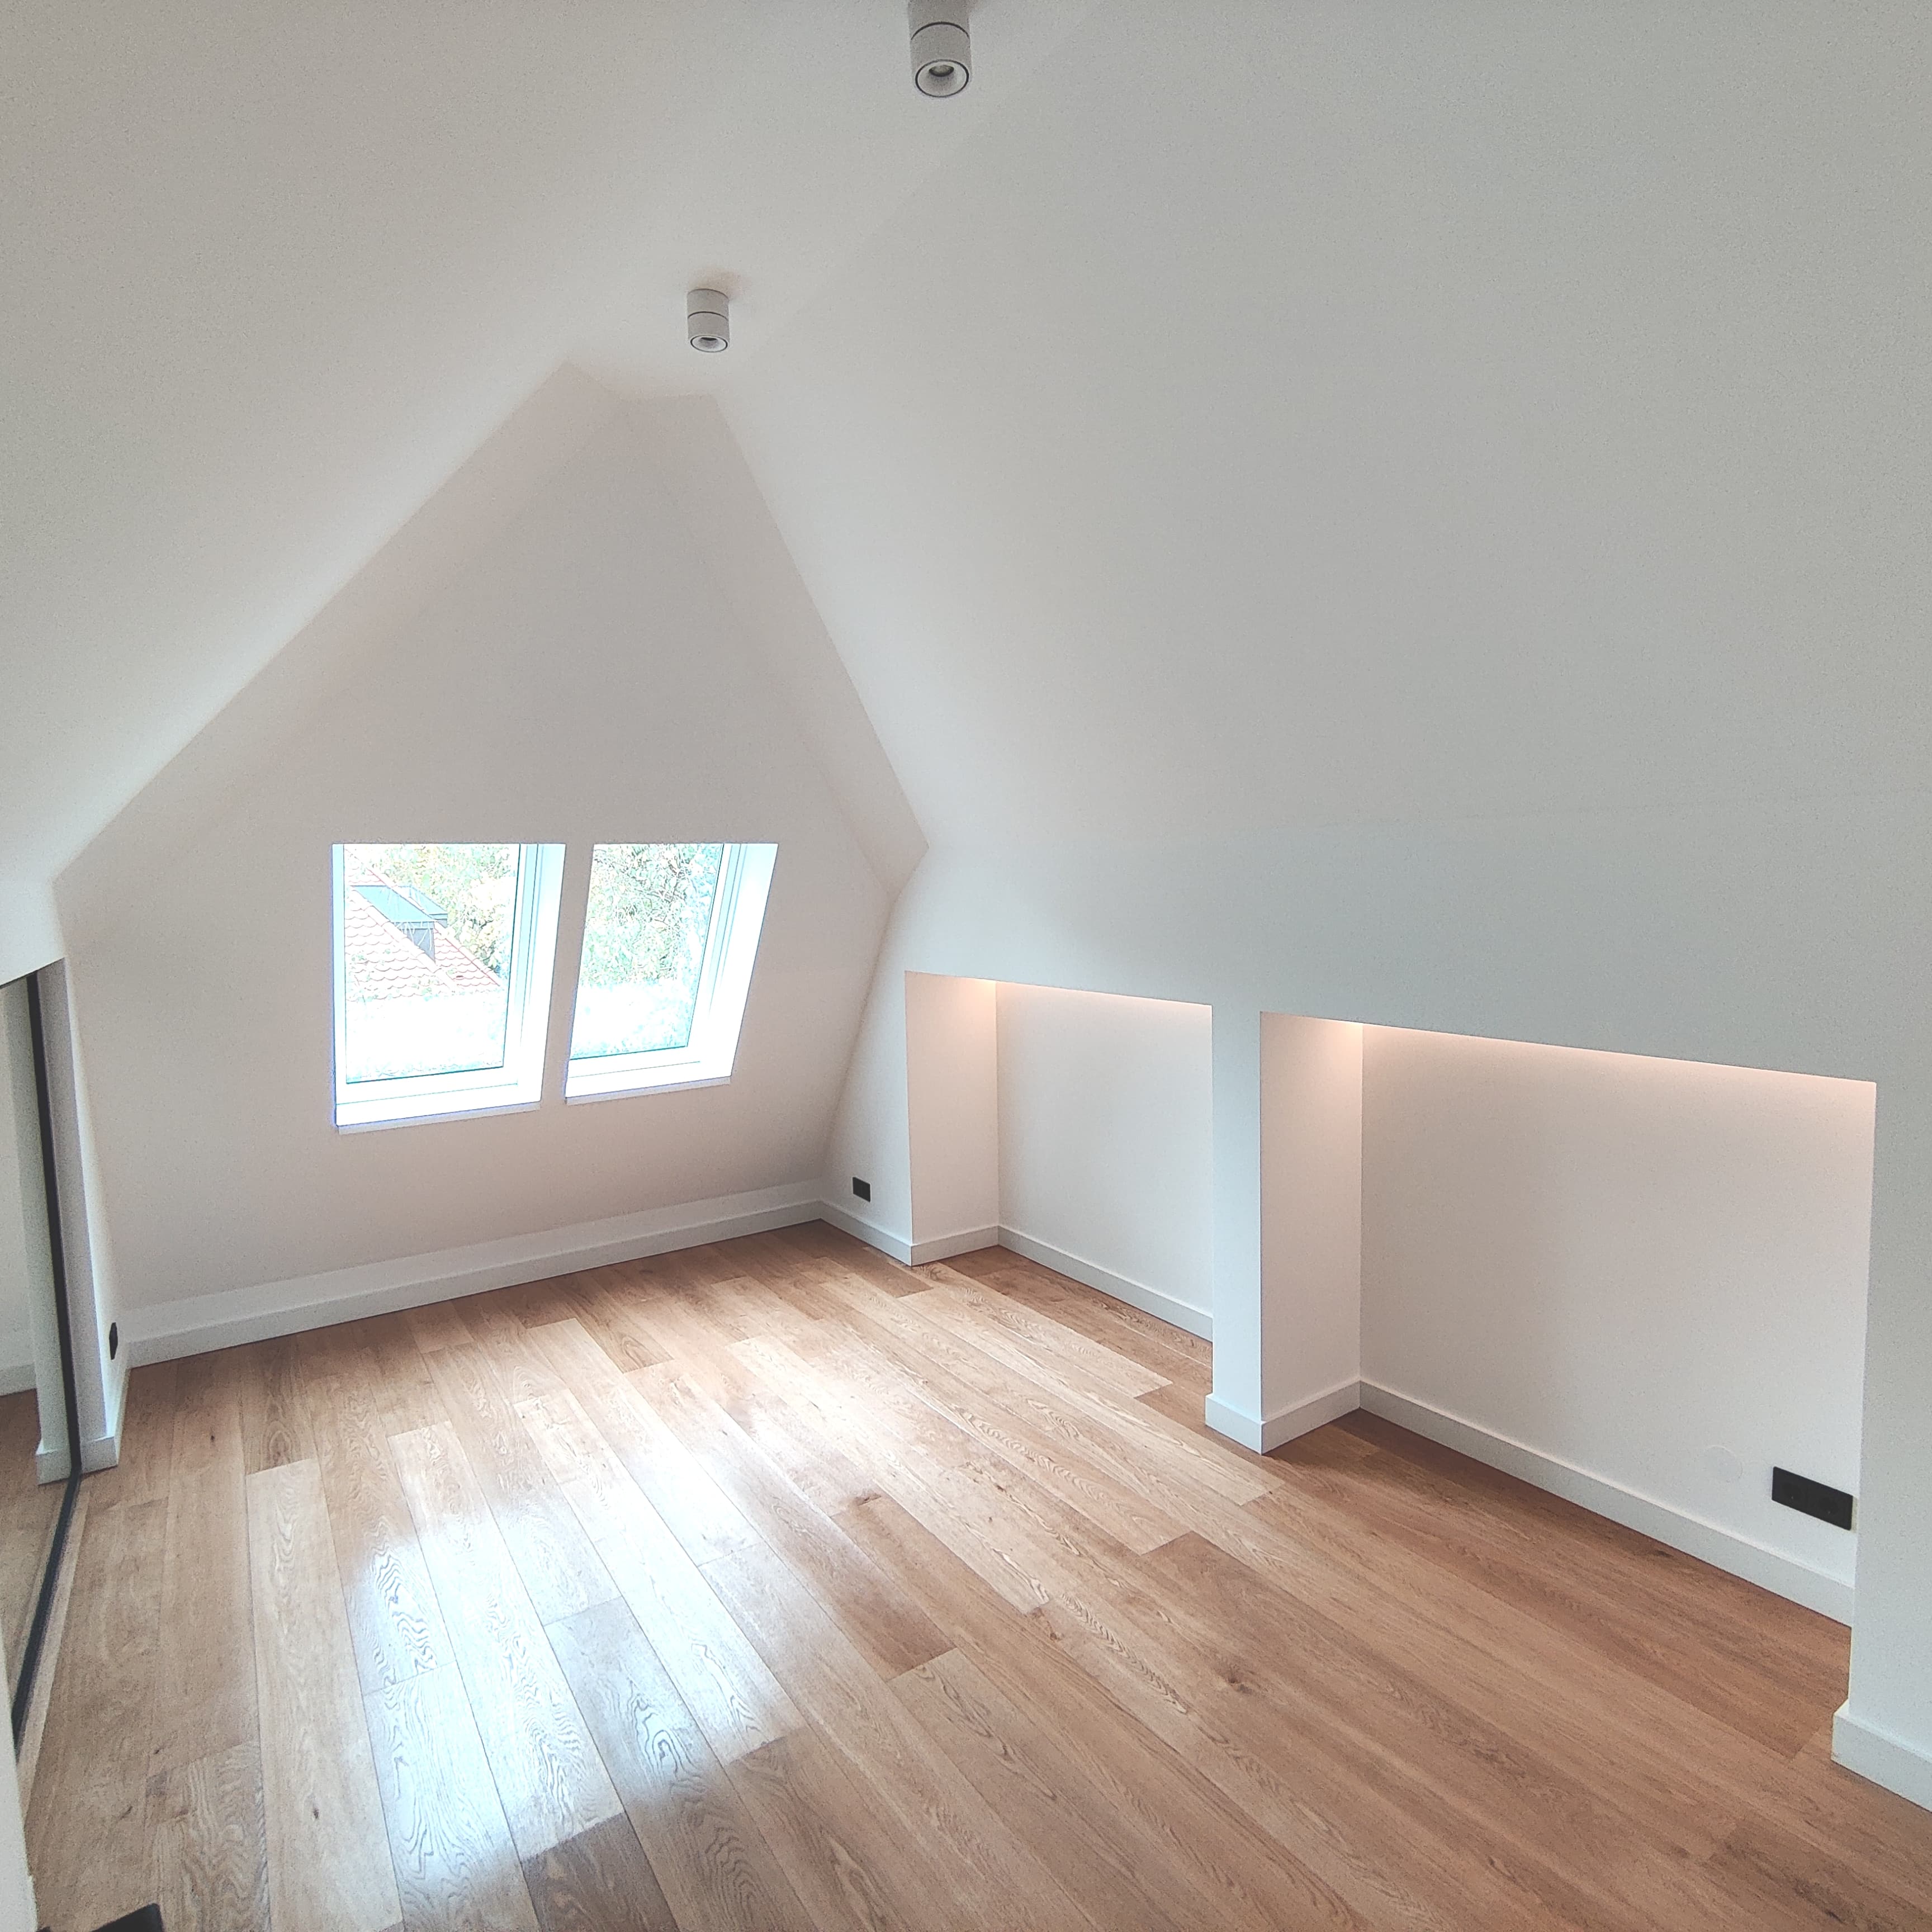
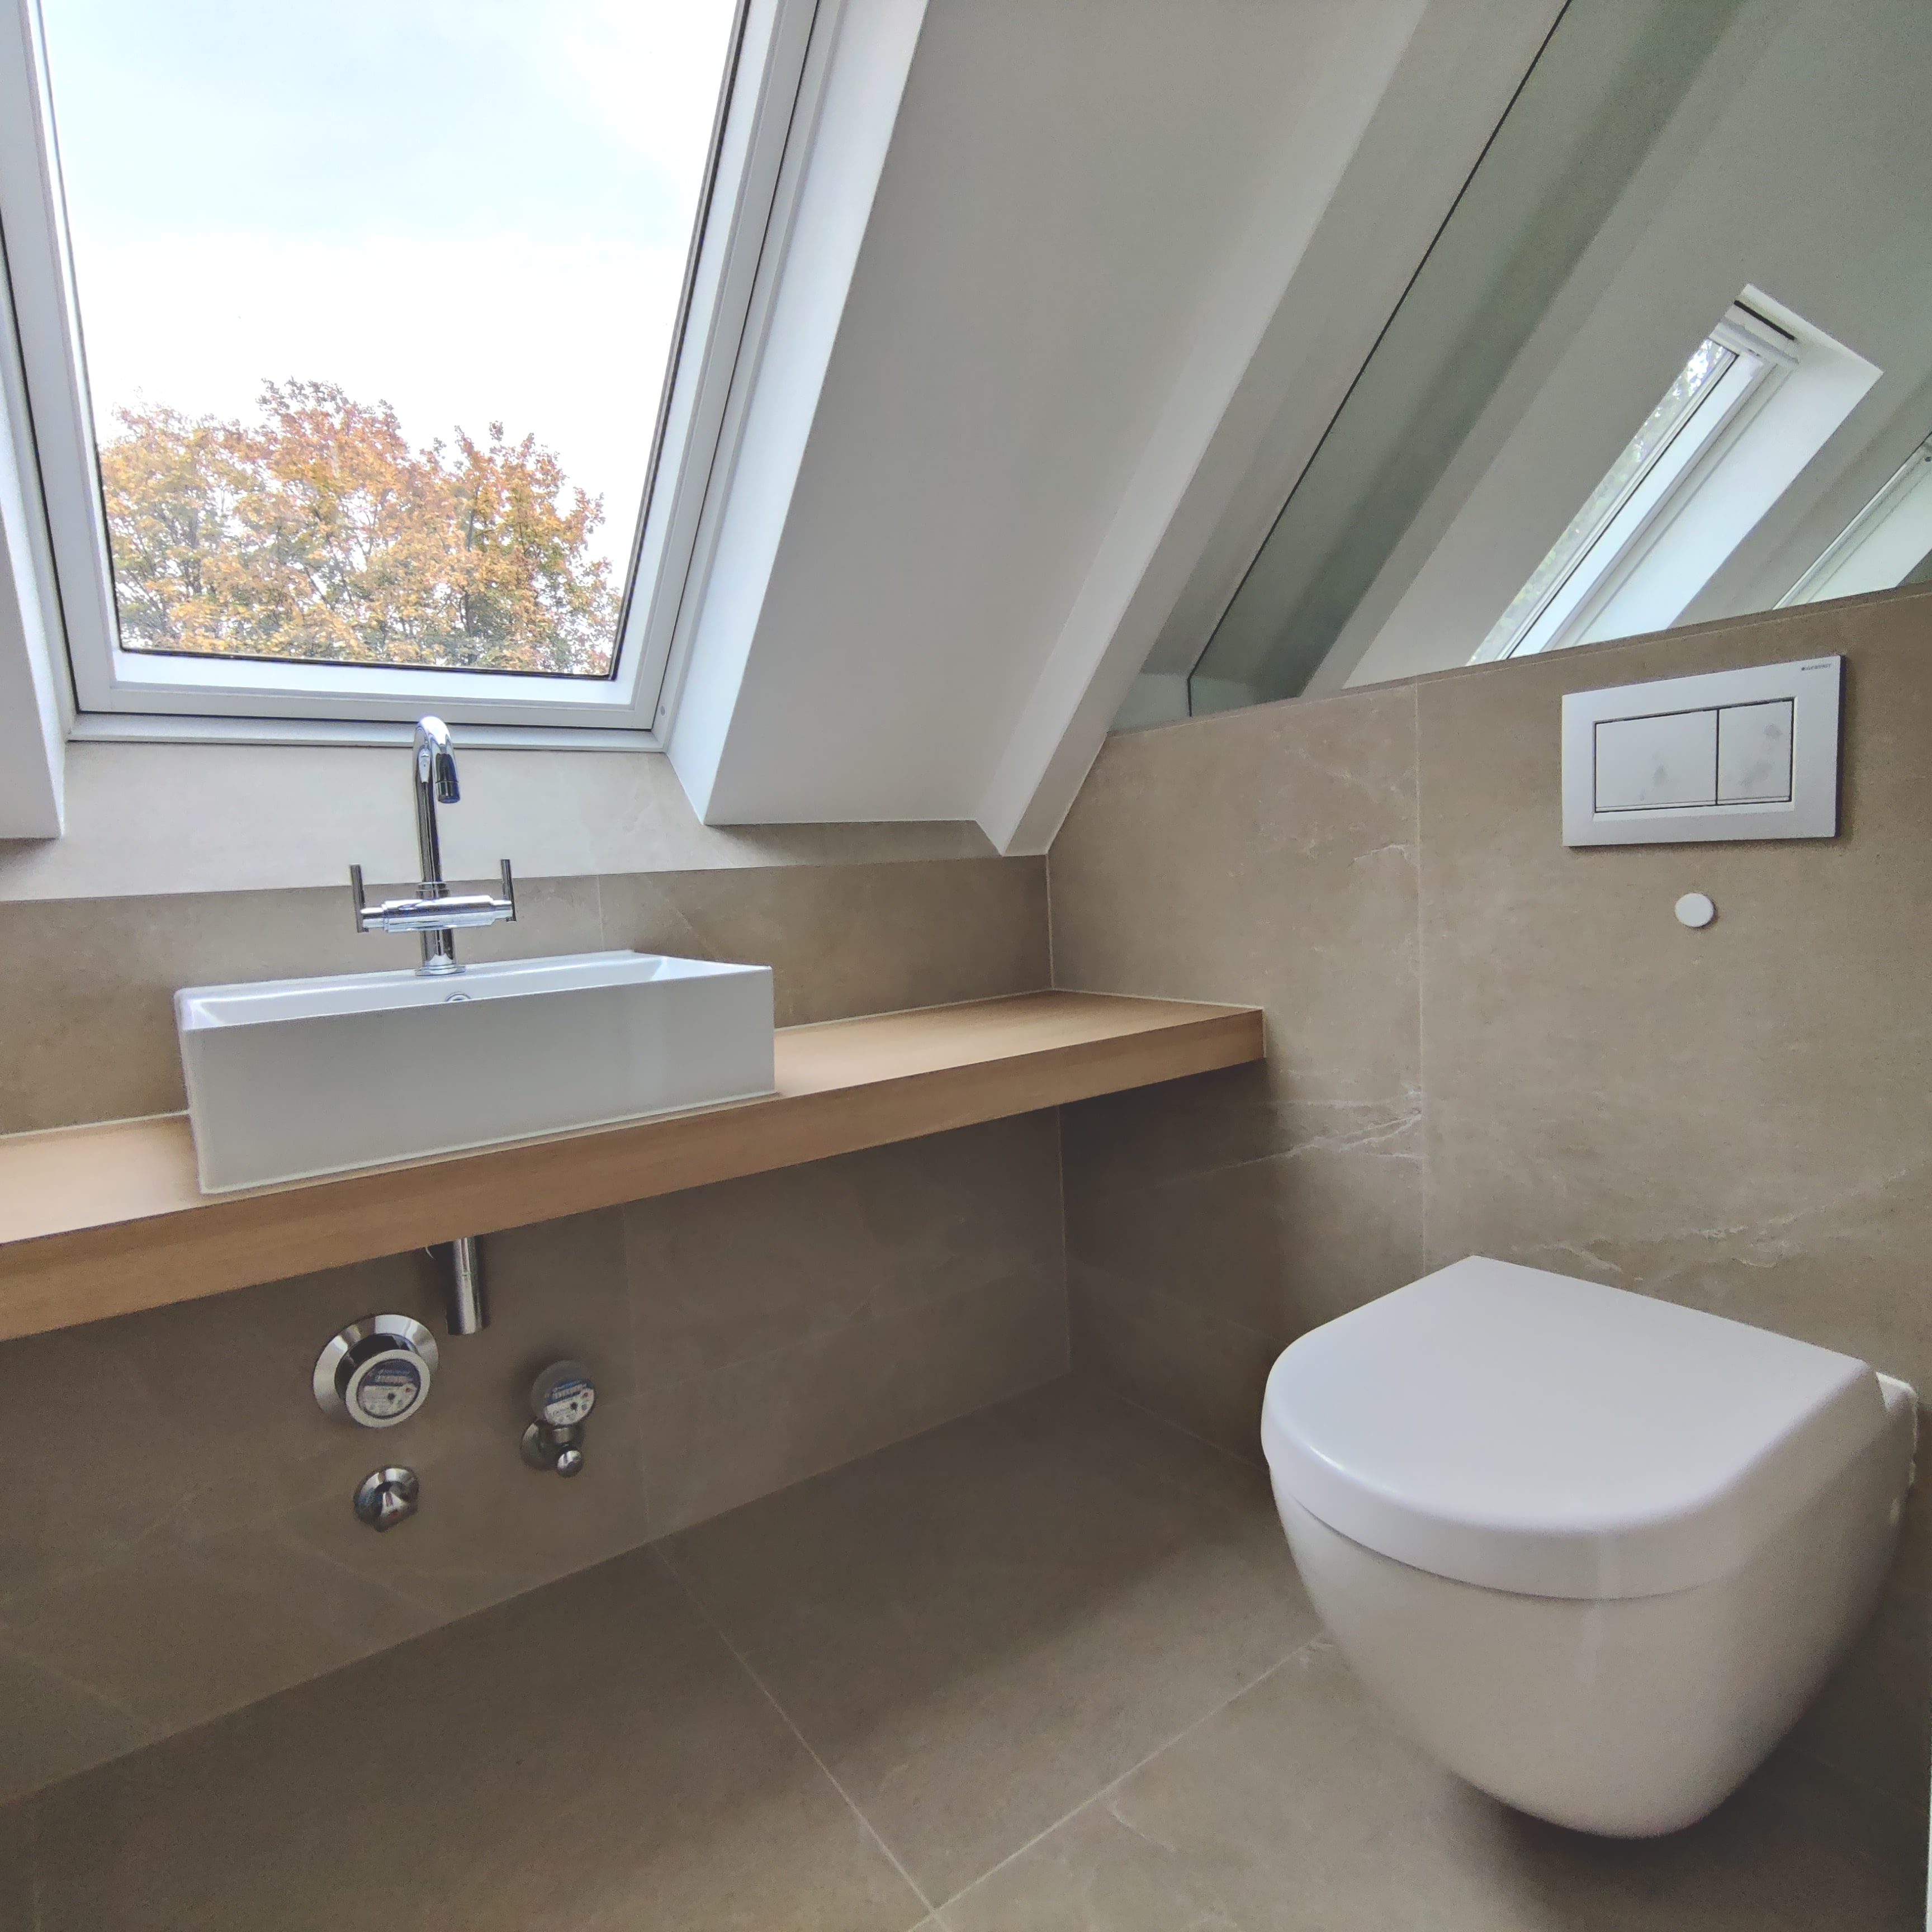
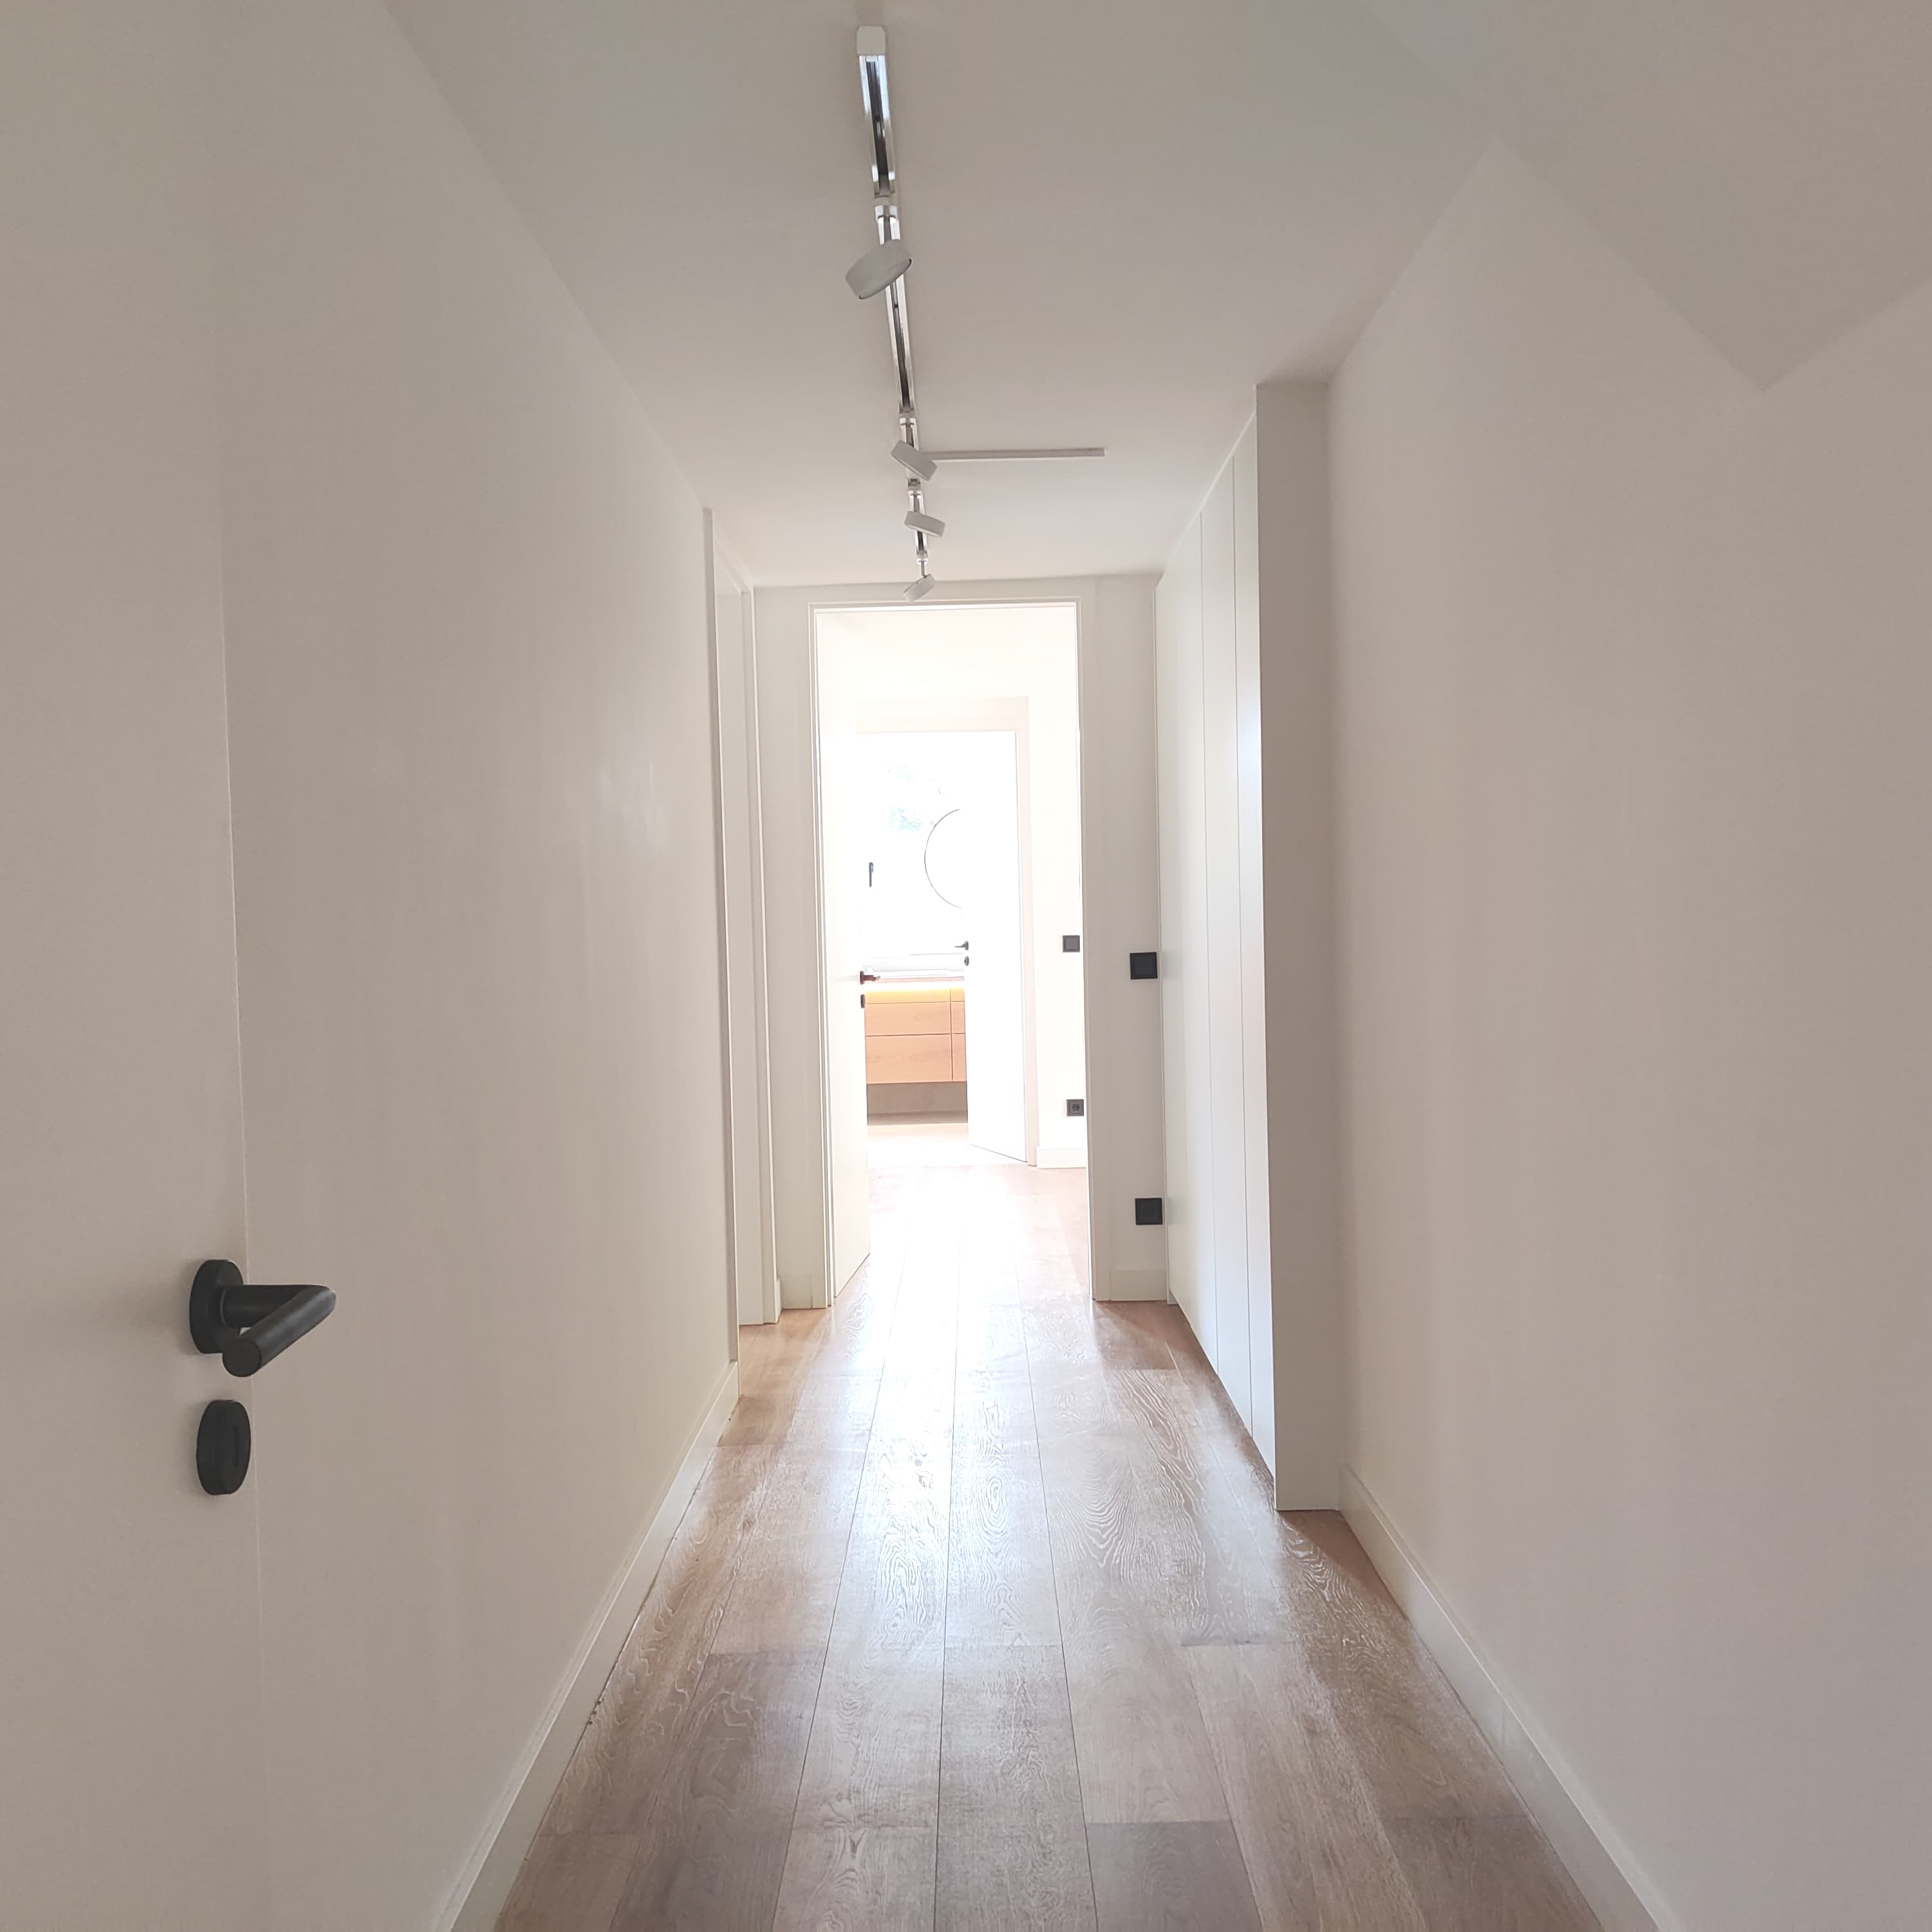
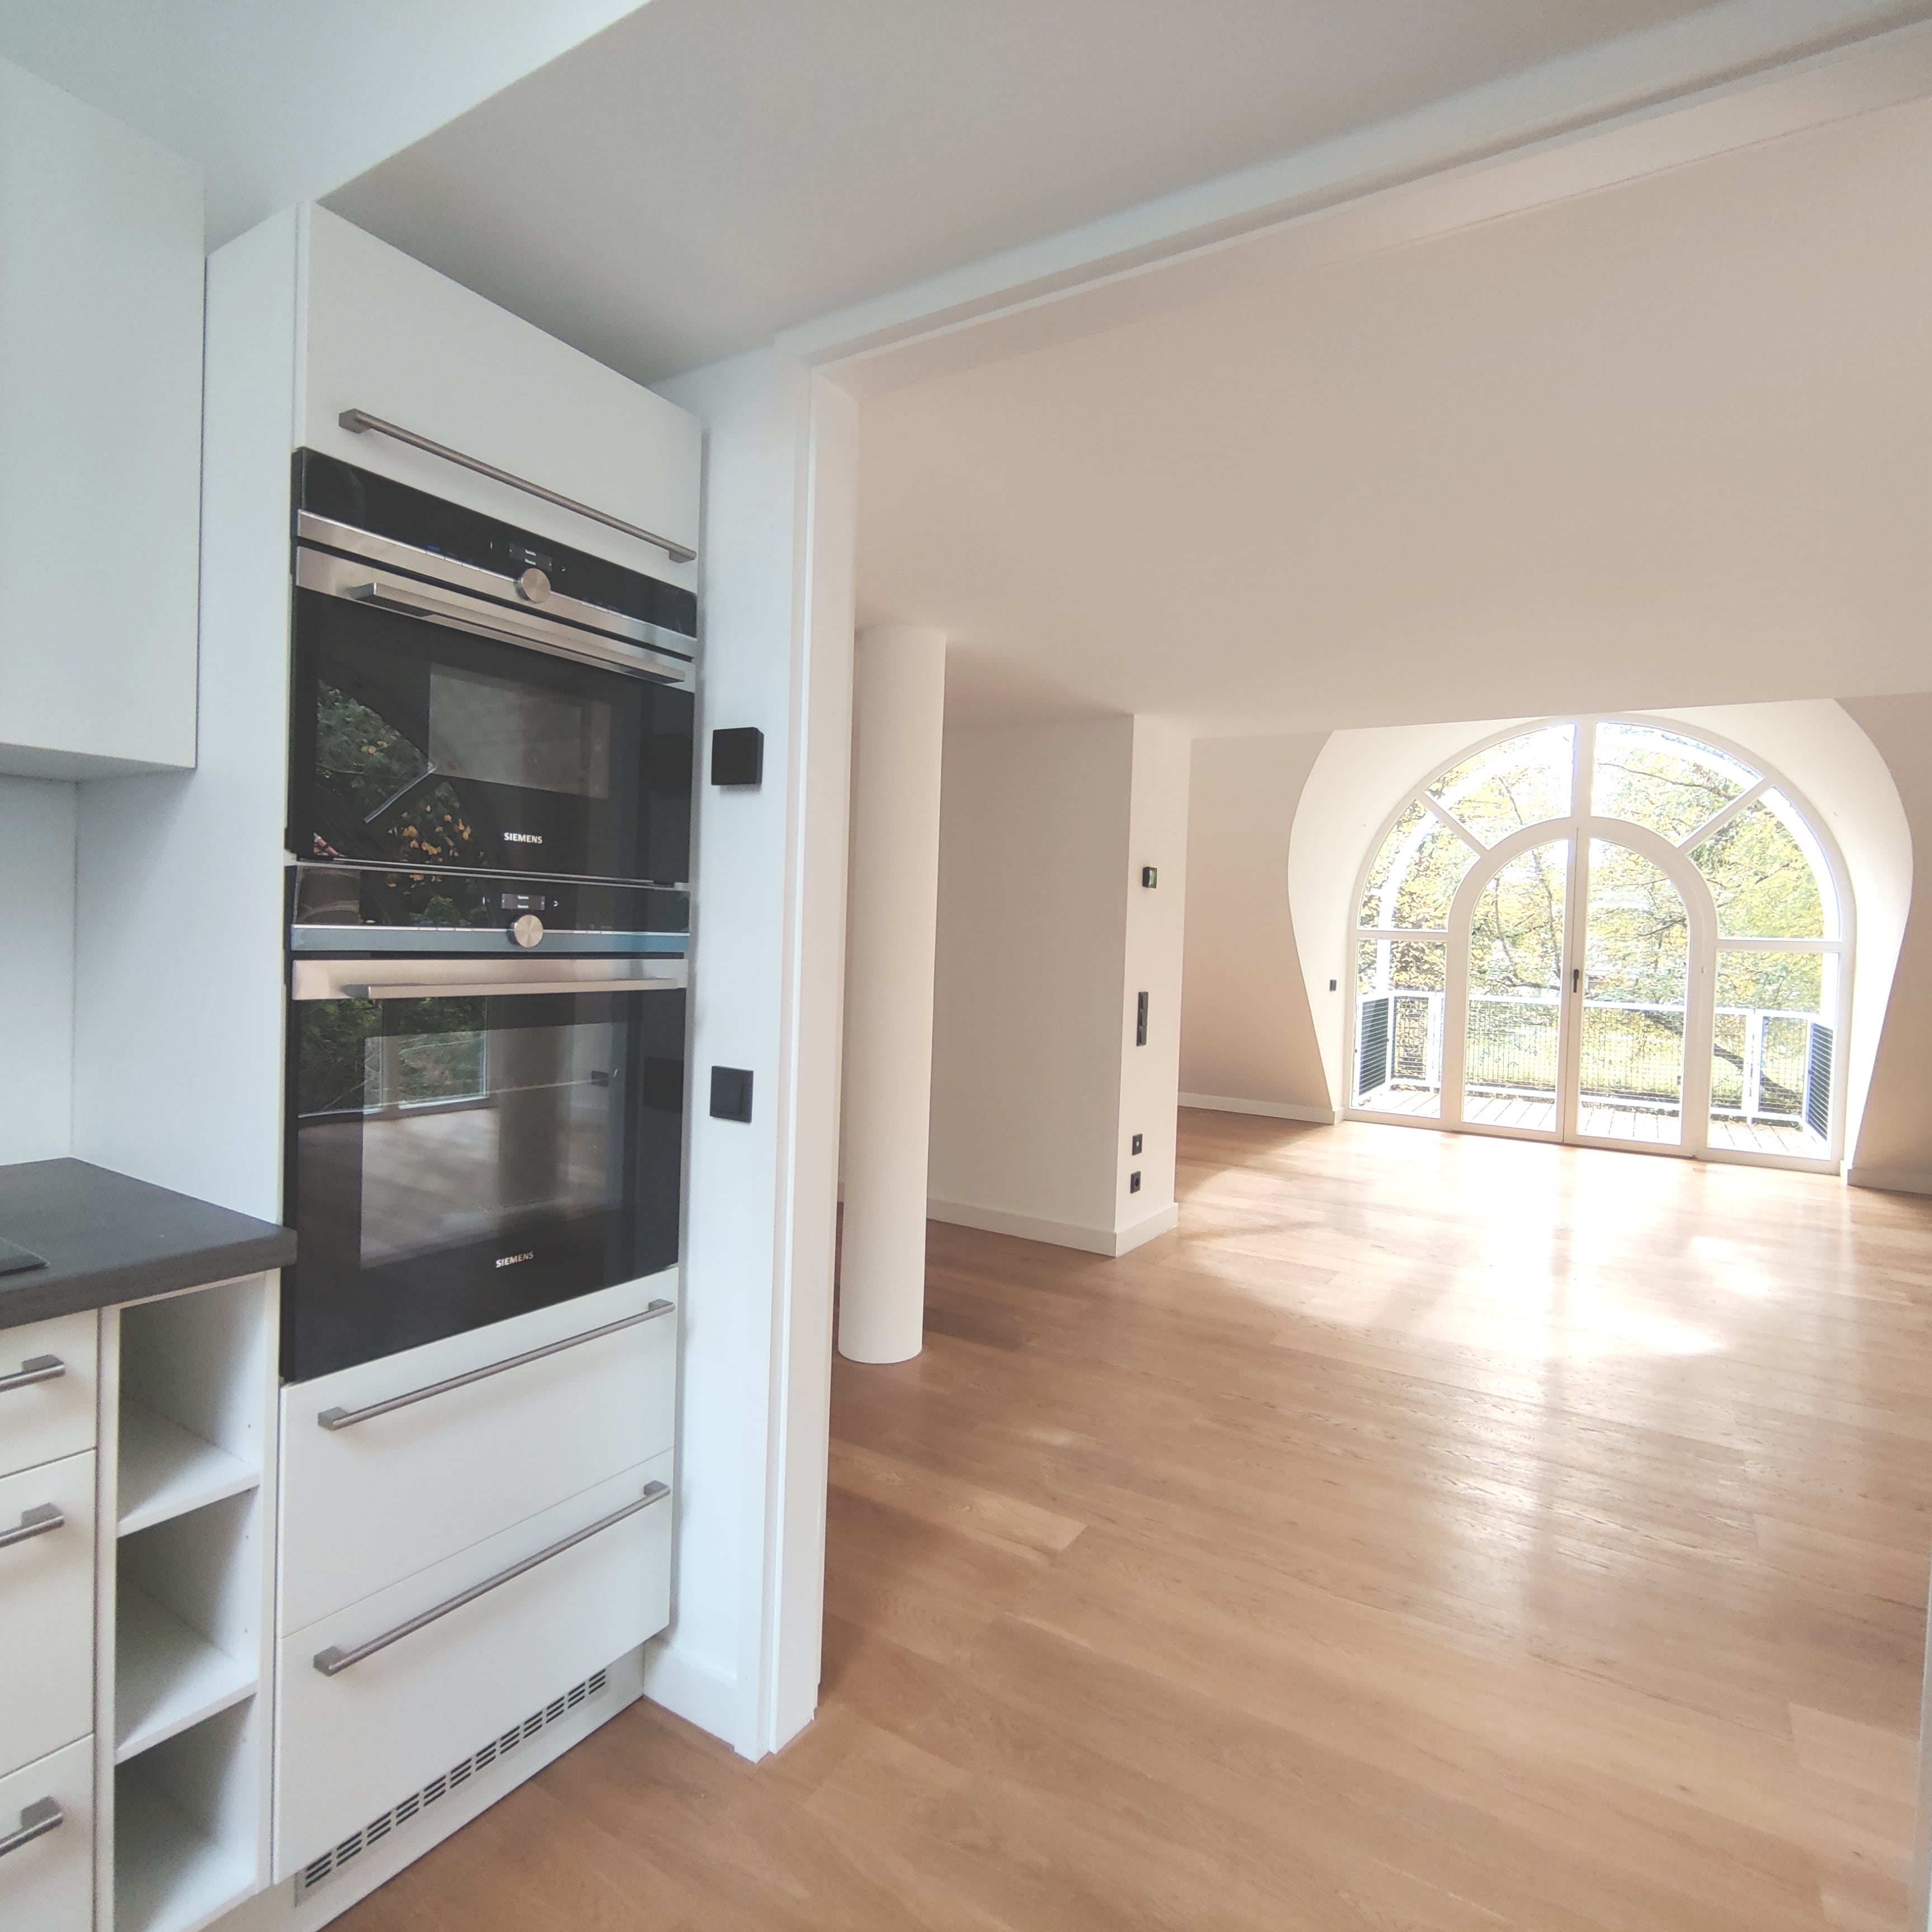
Housing renovation
Project period
July 2022 – August 2022
GFA
ca. 100 m²
Services
- Core renovation
Link to video: https://www.youtube.com/watch?v=k4npaDGEovw
Link to video: https://www.youtube.com/watch?v=k4npaDGEovw

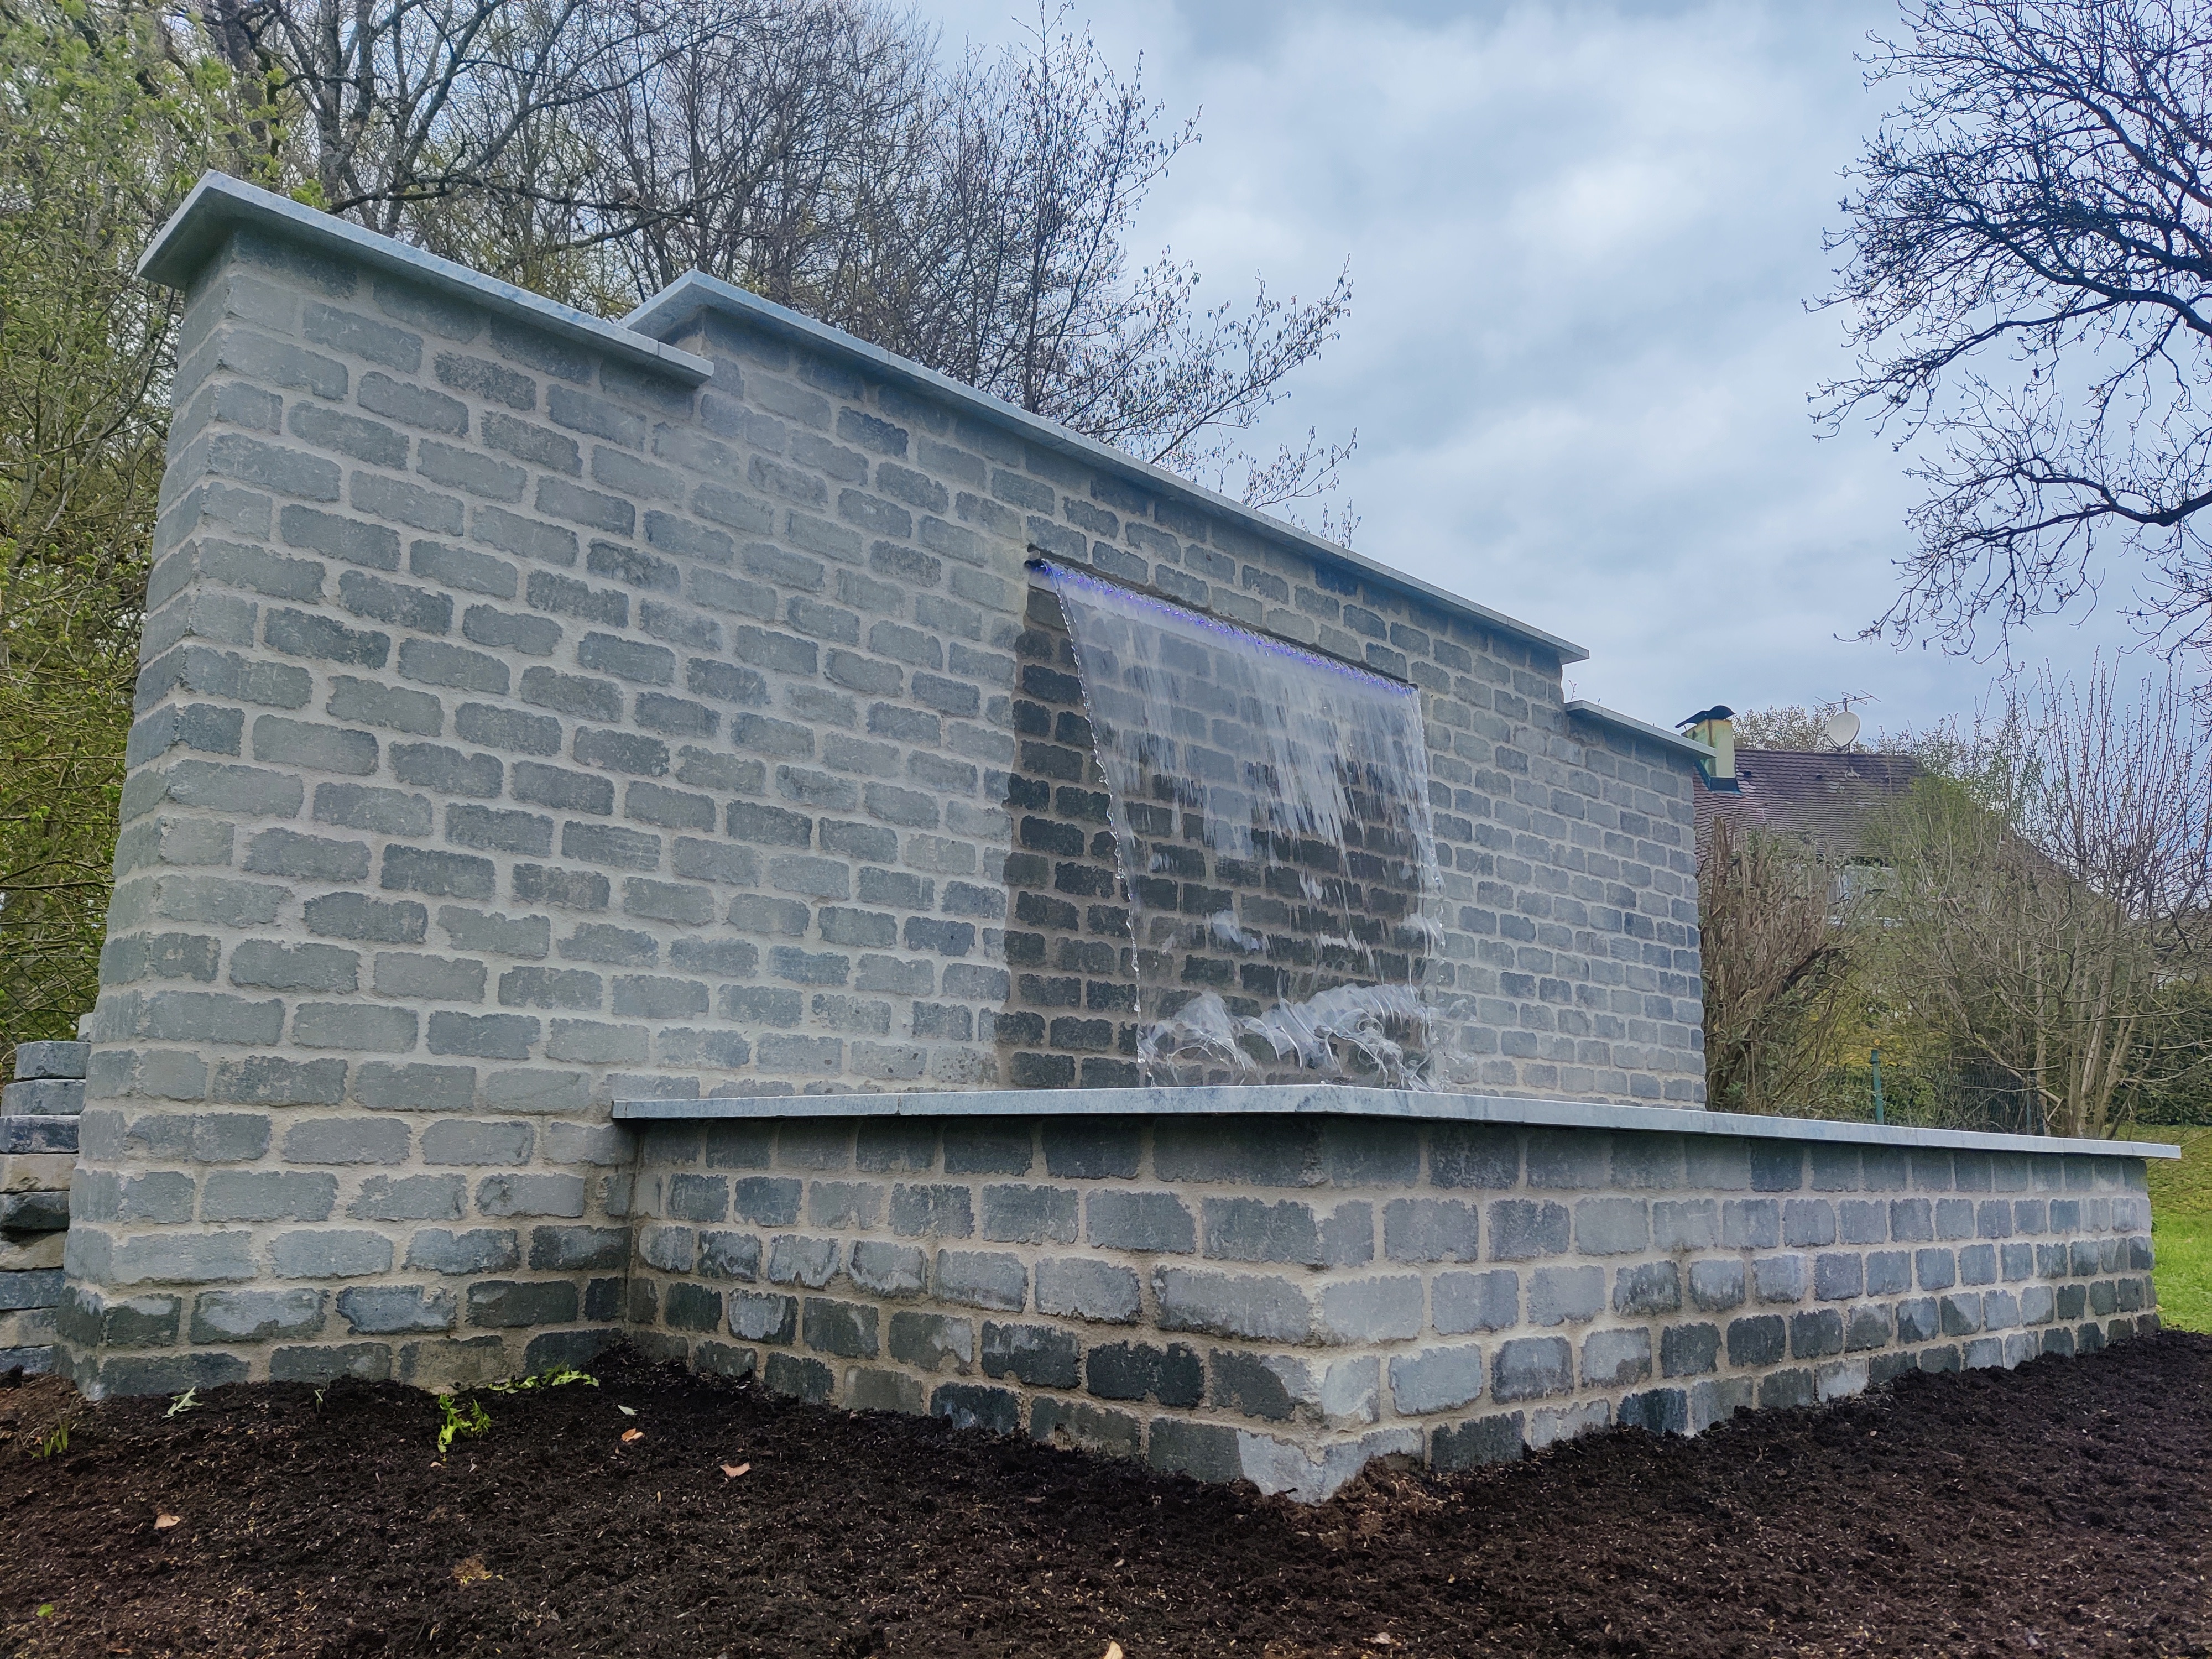
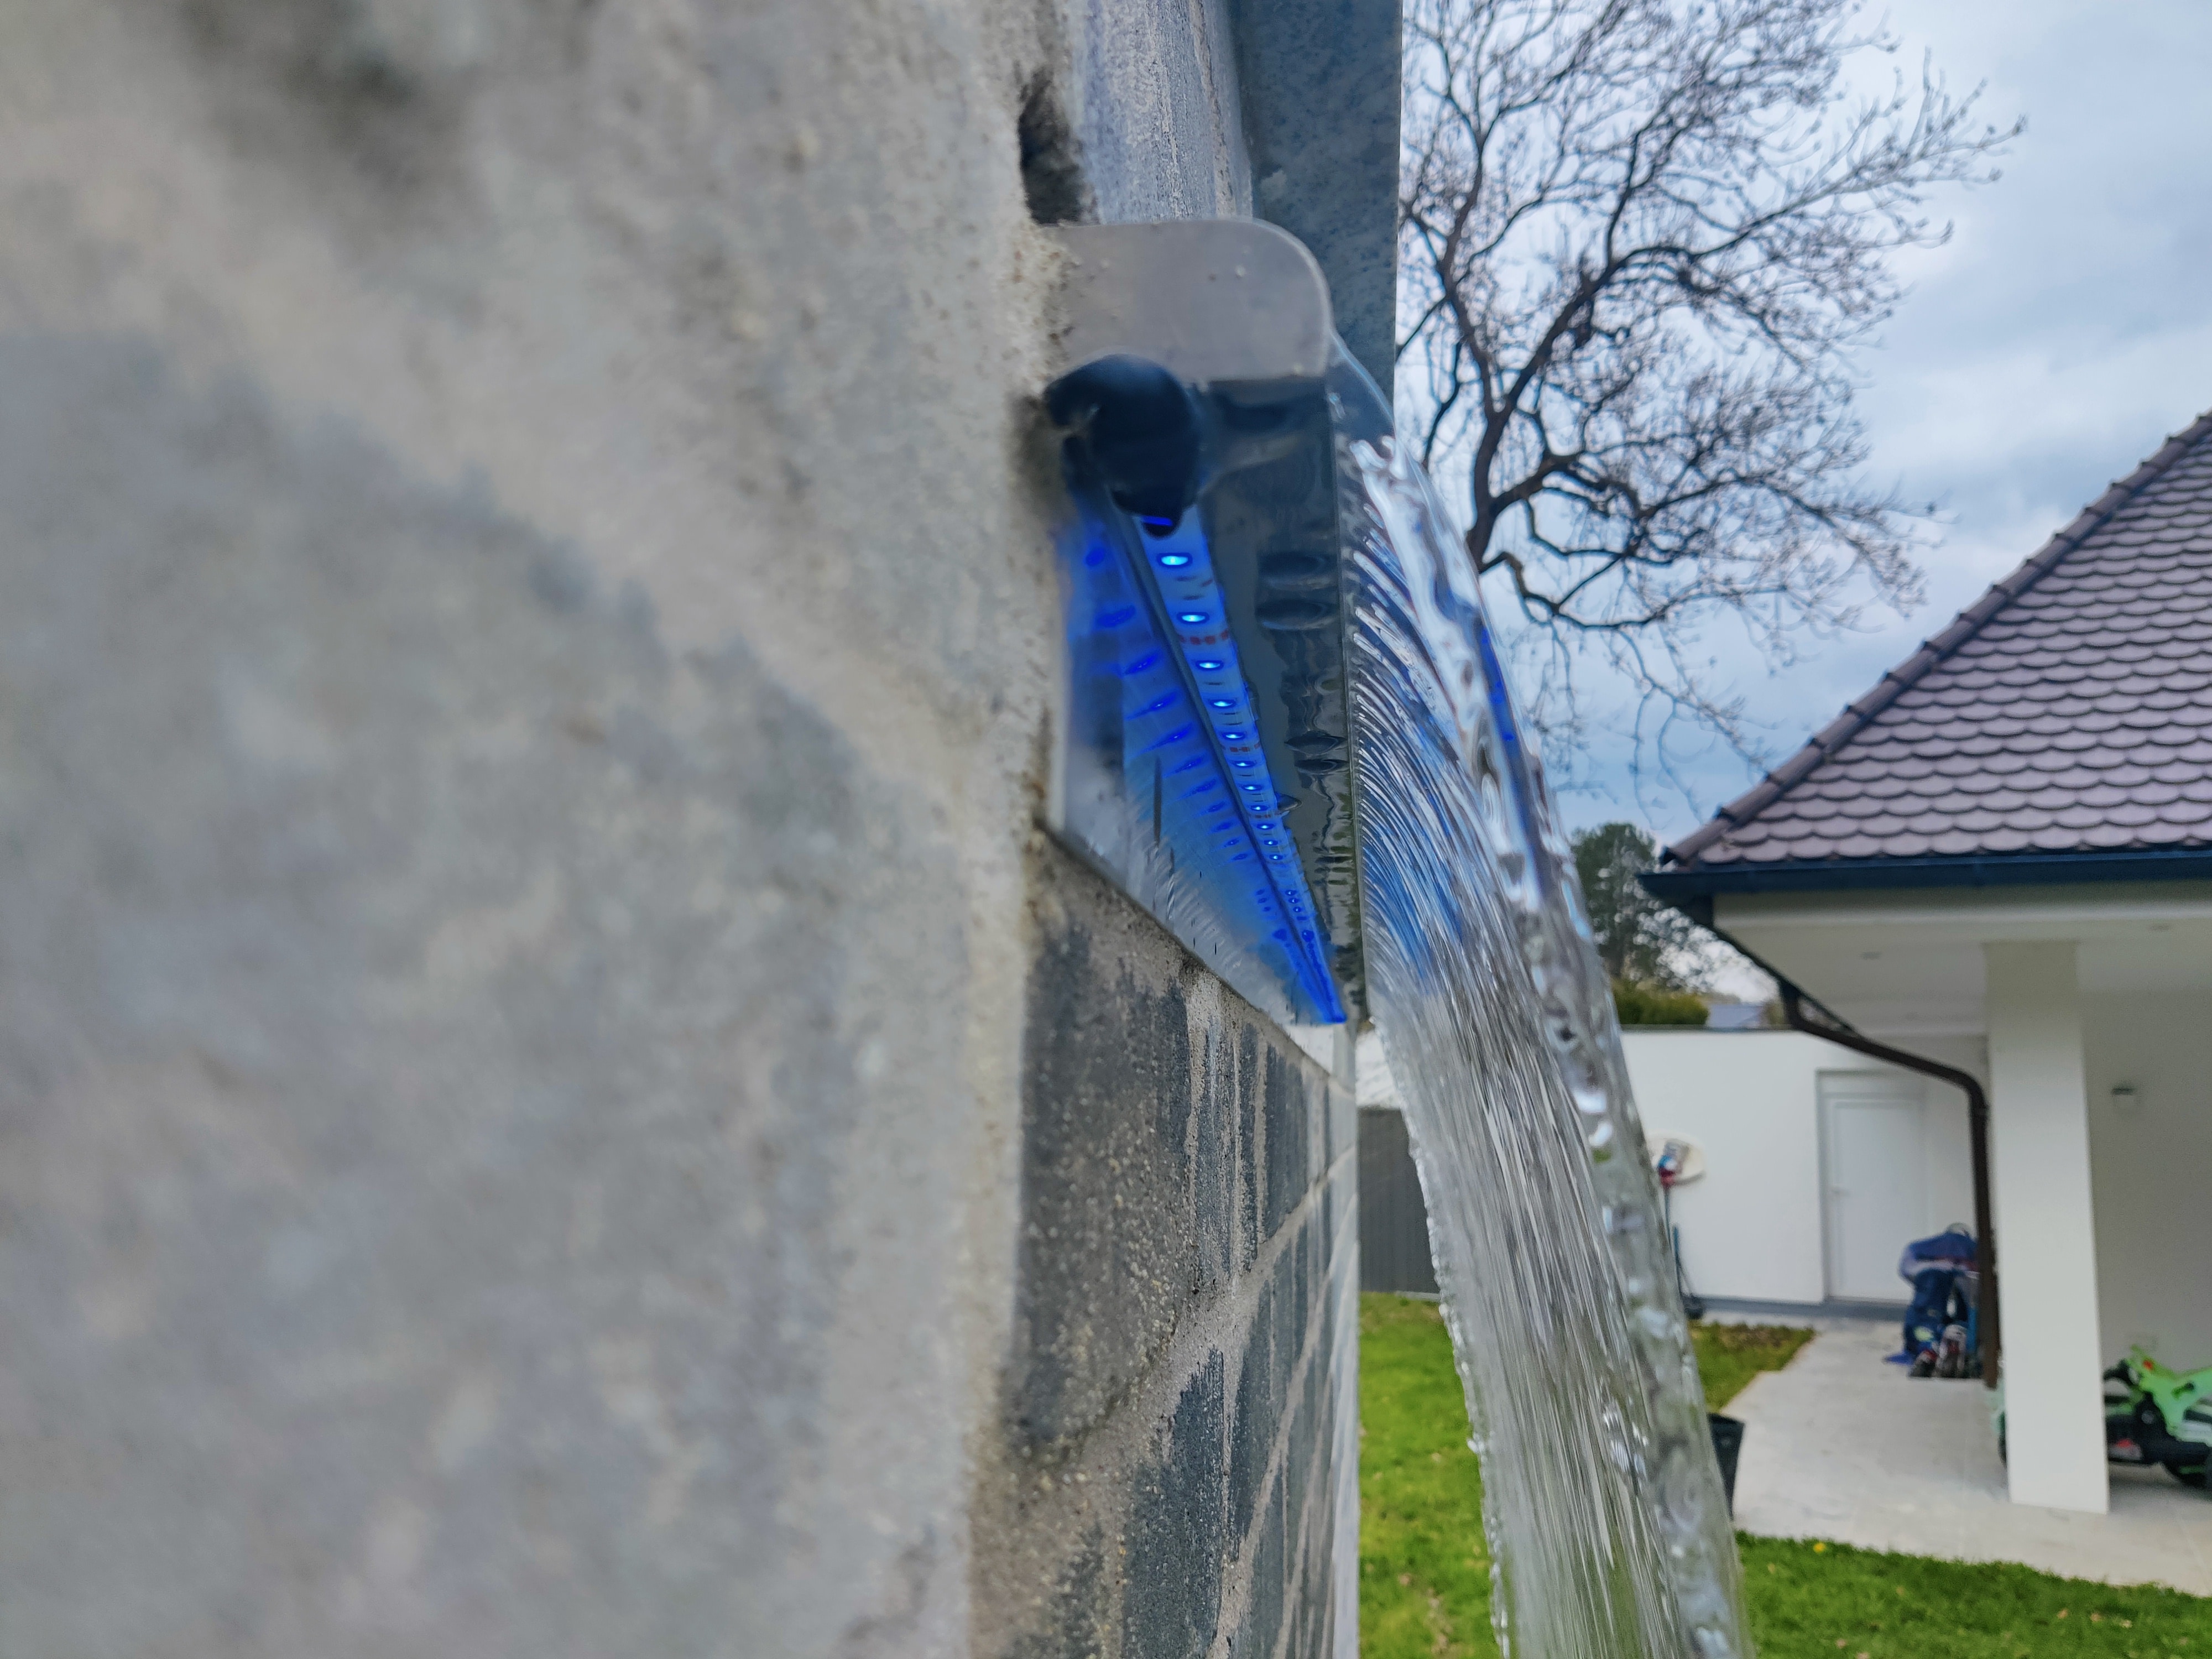
Es wurde einen Brunnen im Garten für die Radizierung des Straßenverkehrslärms gebaut.


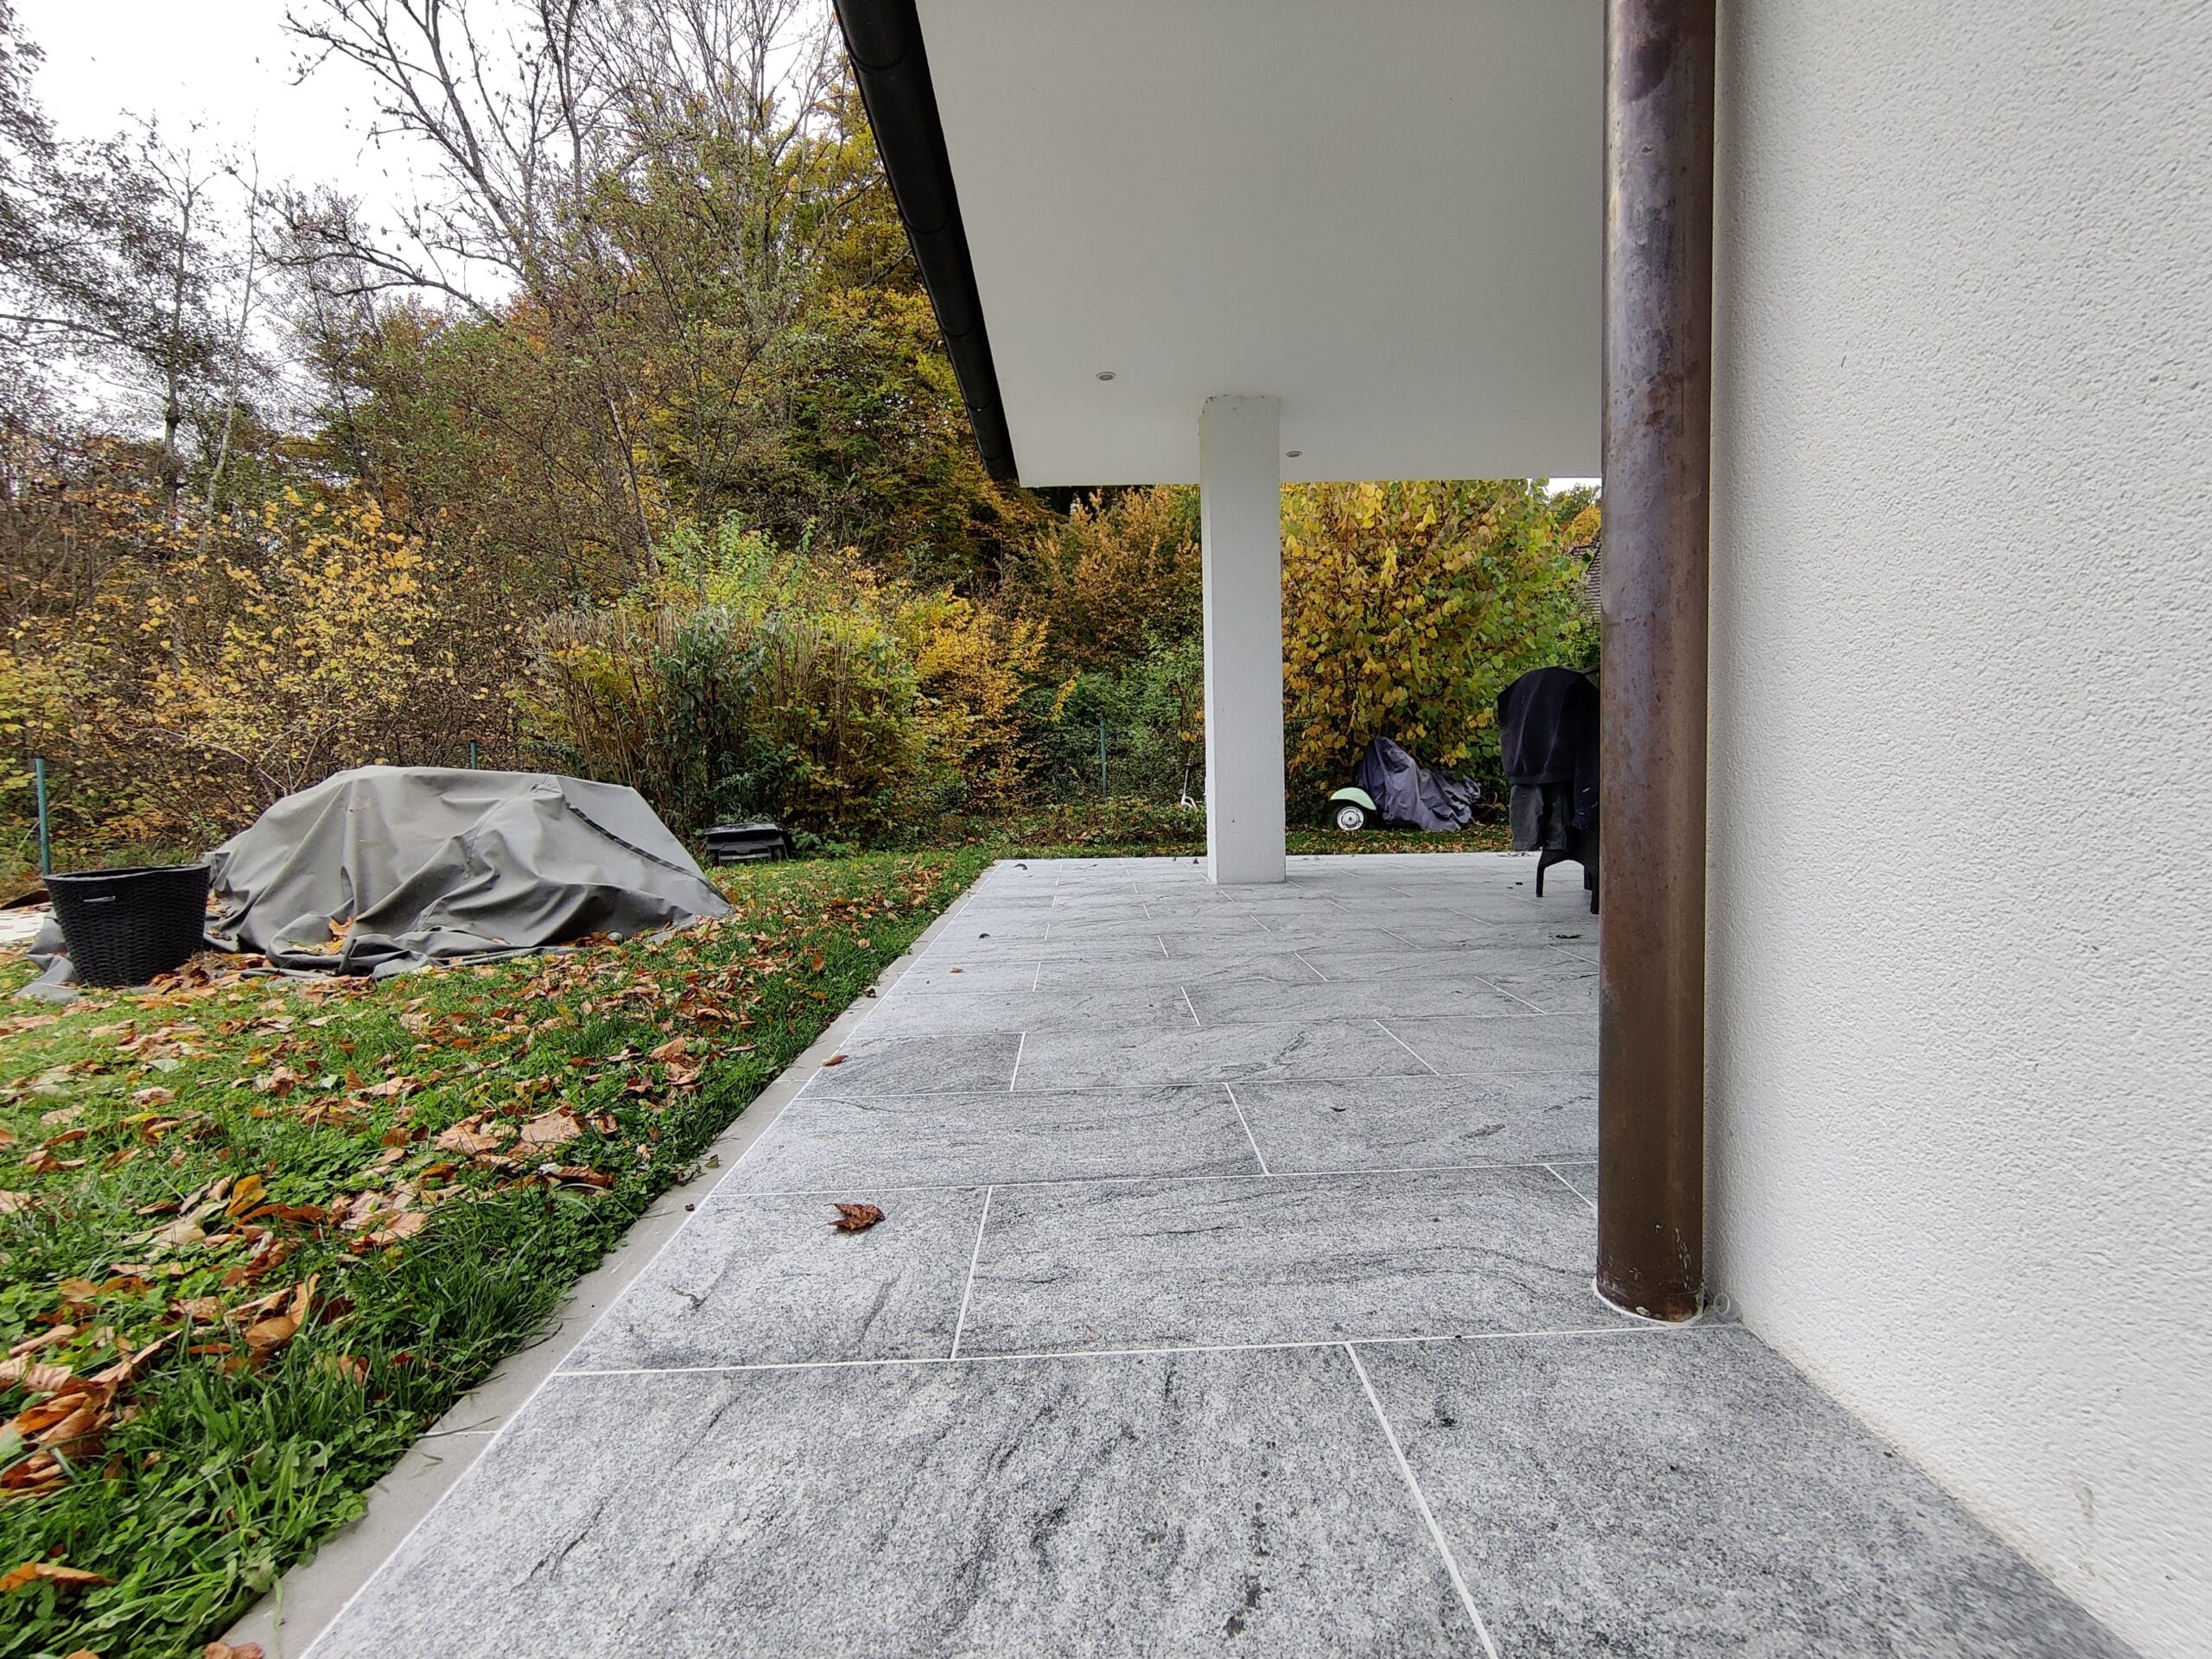
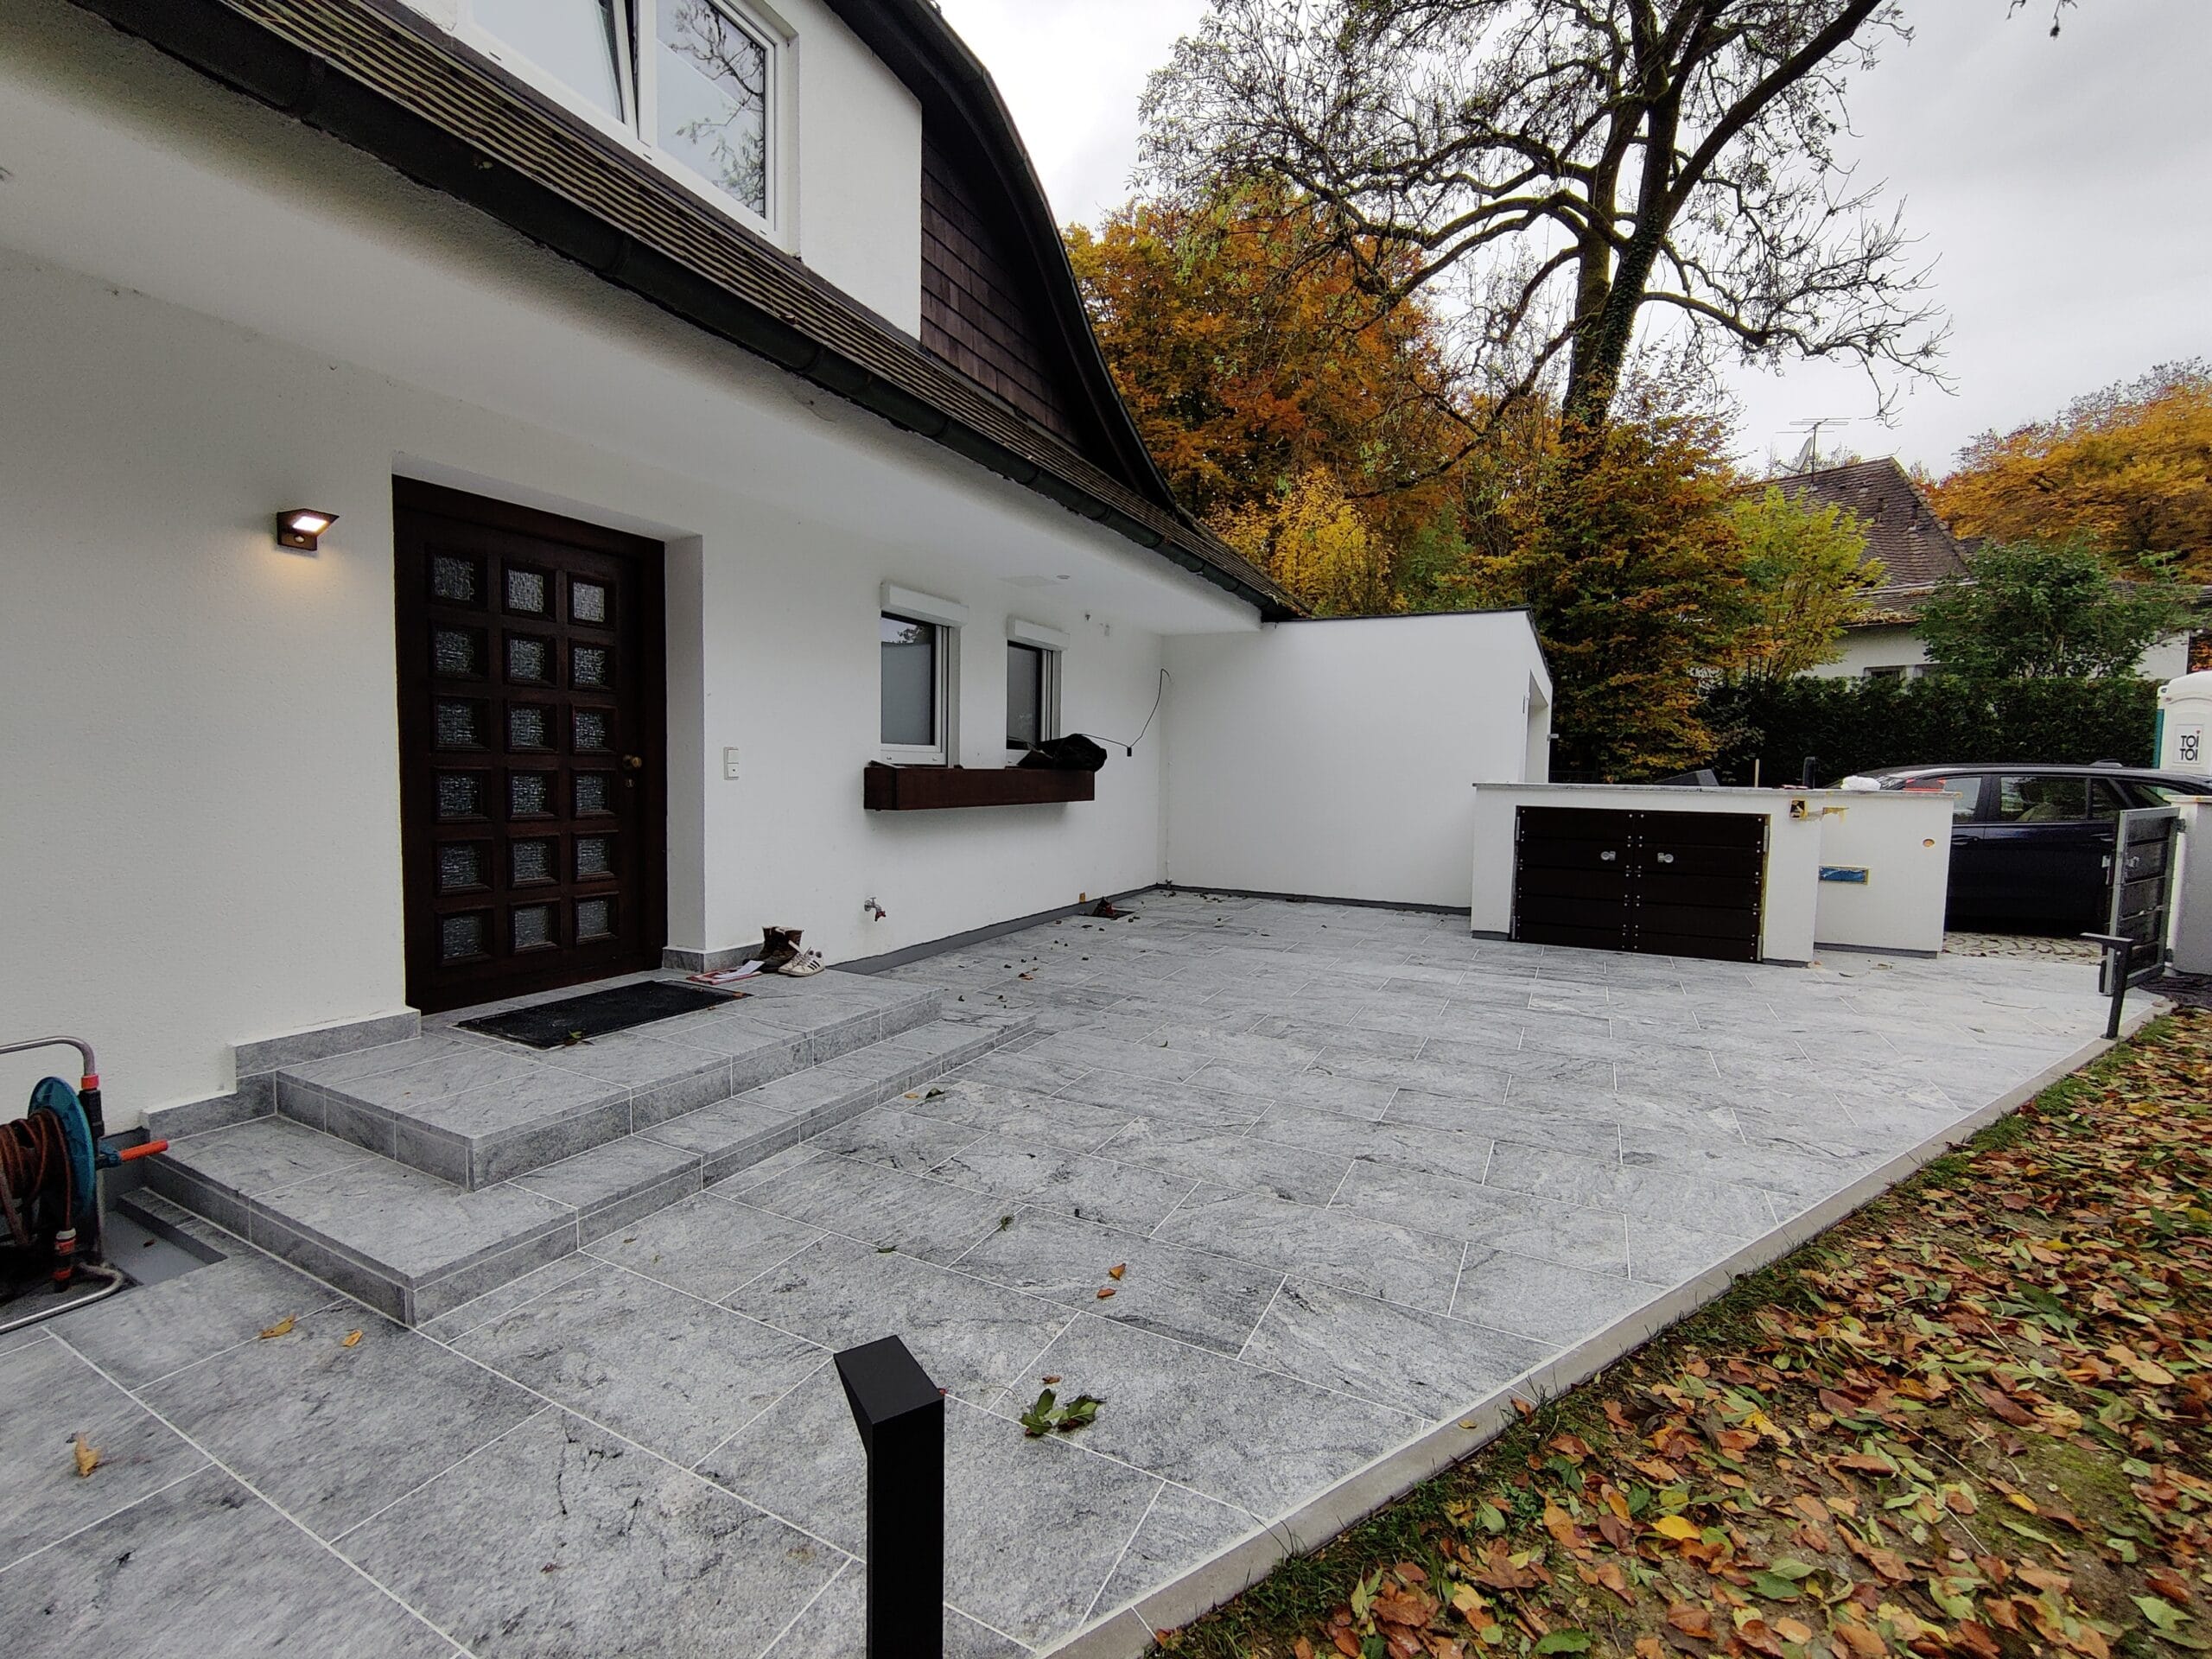
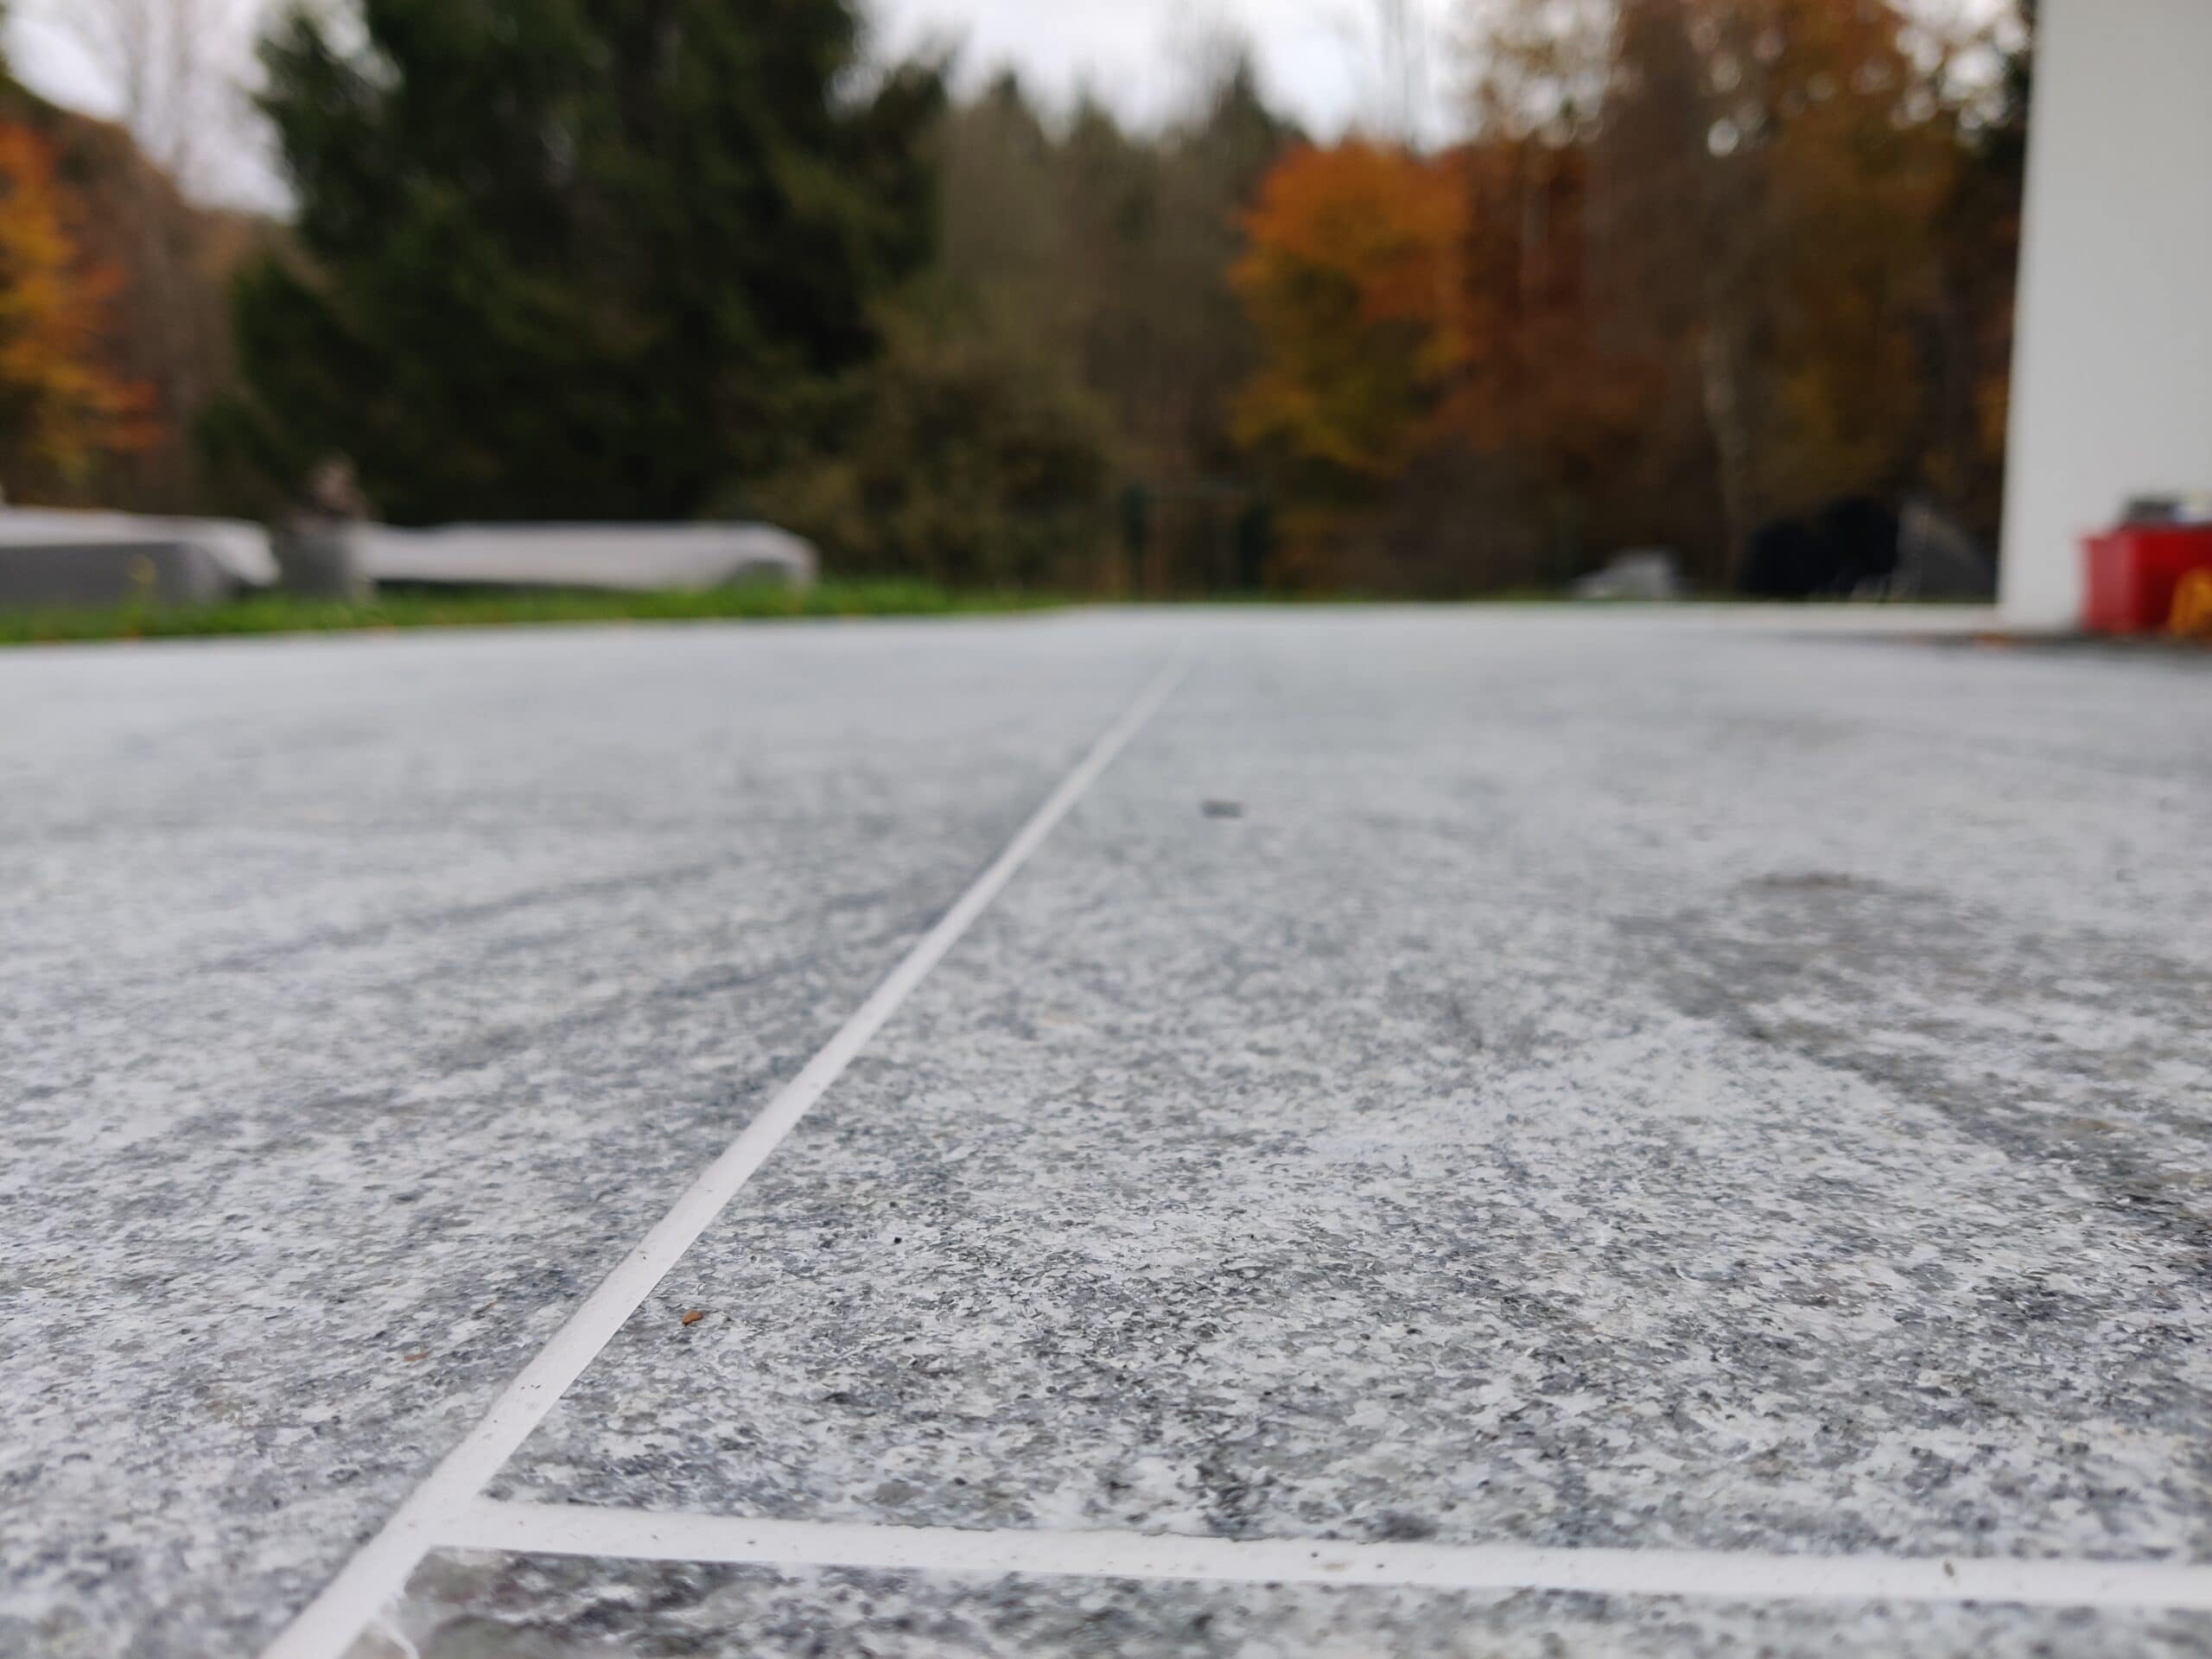
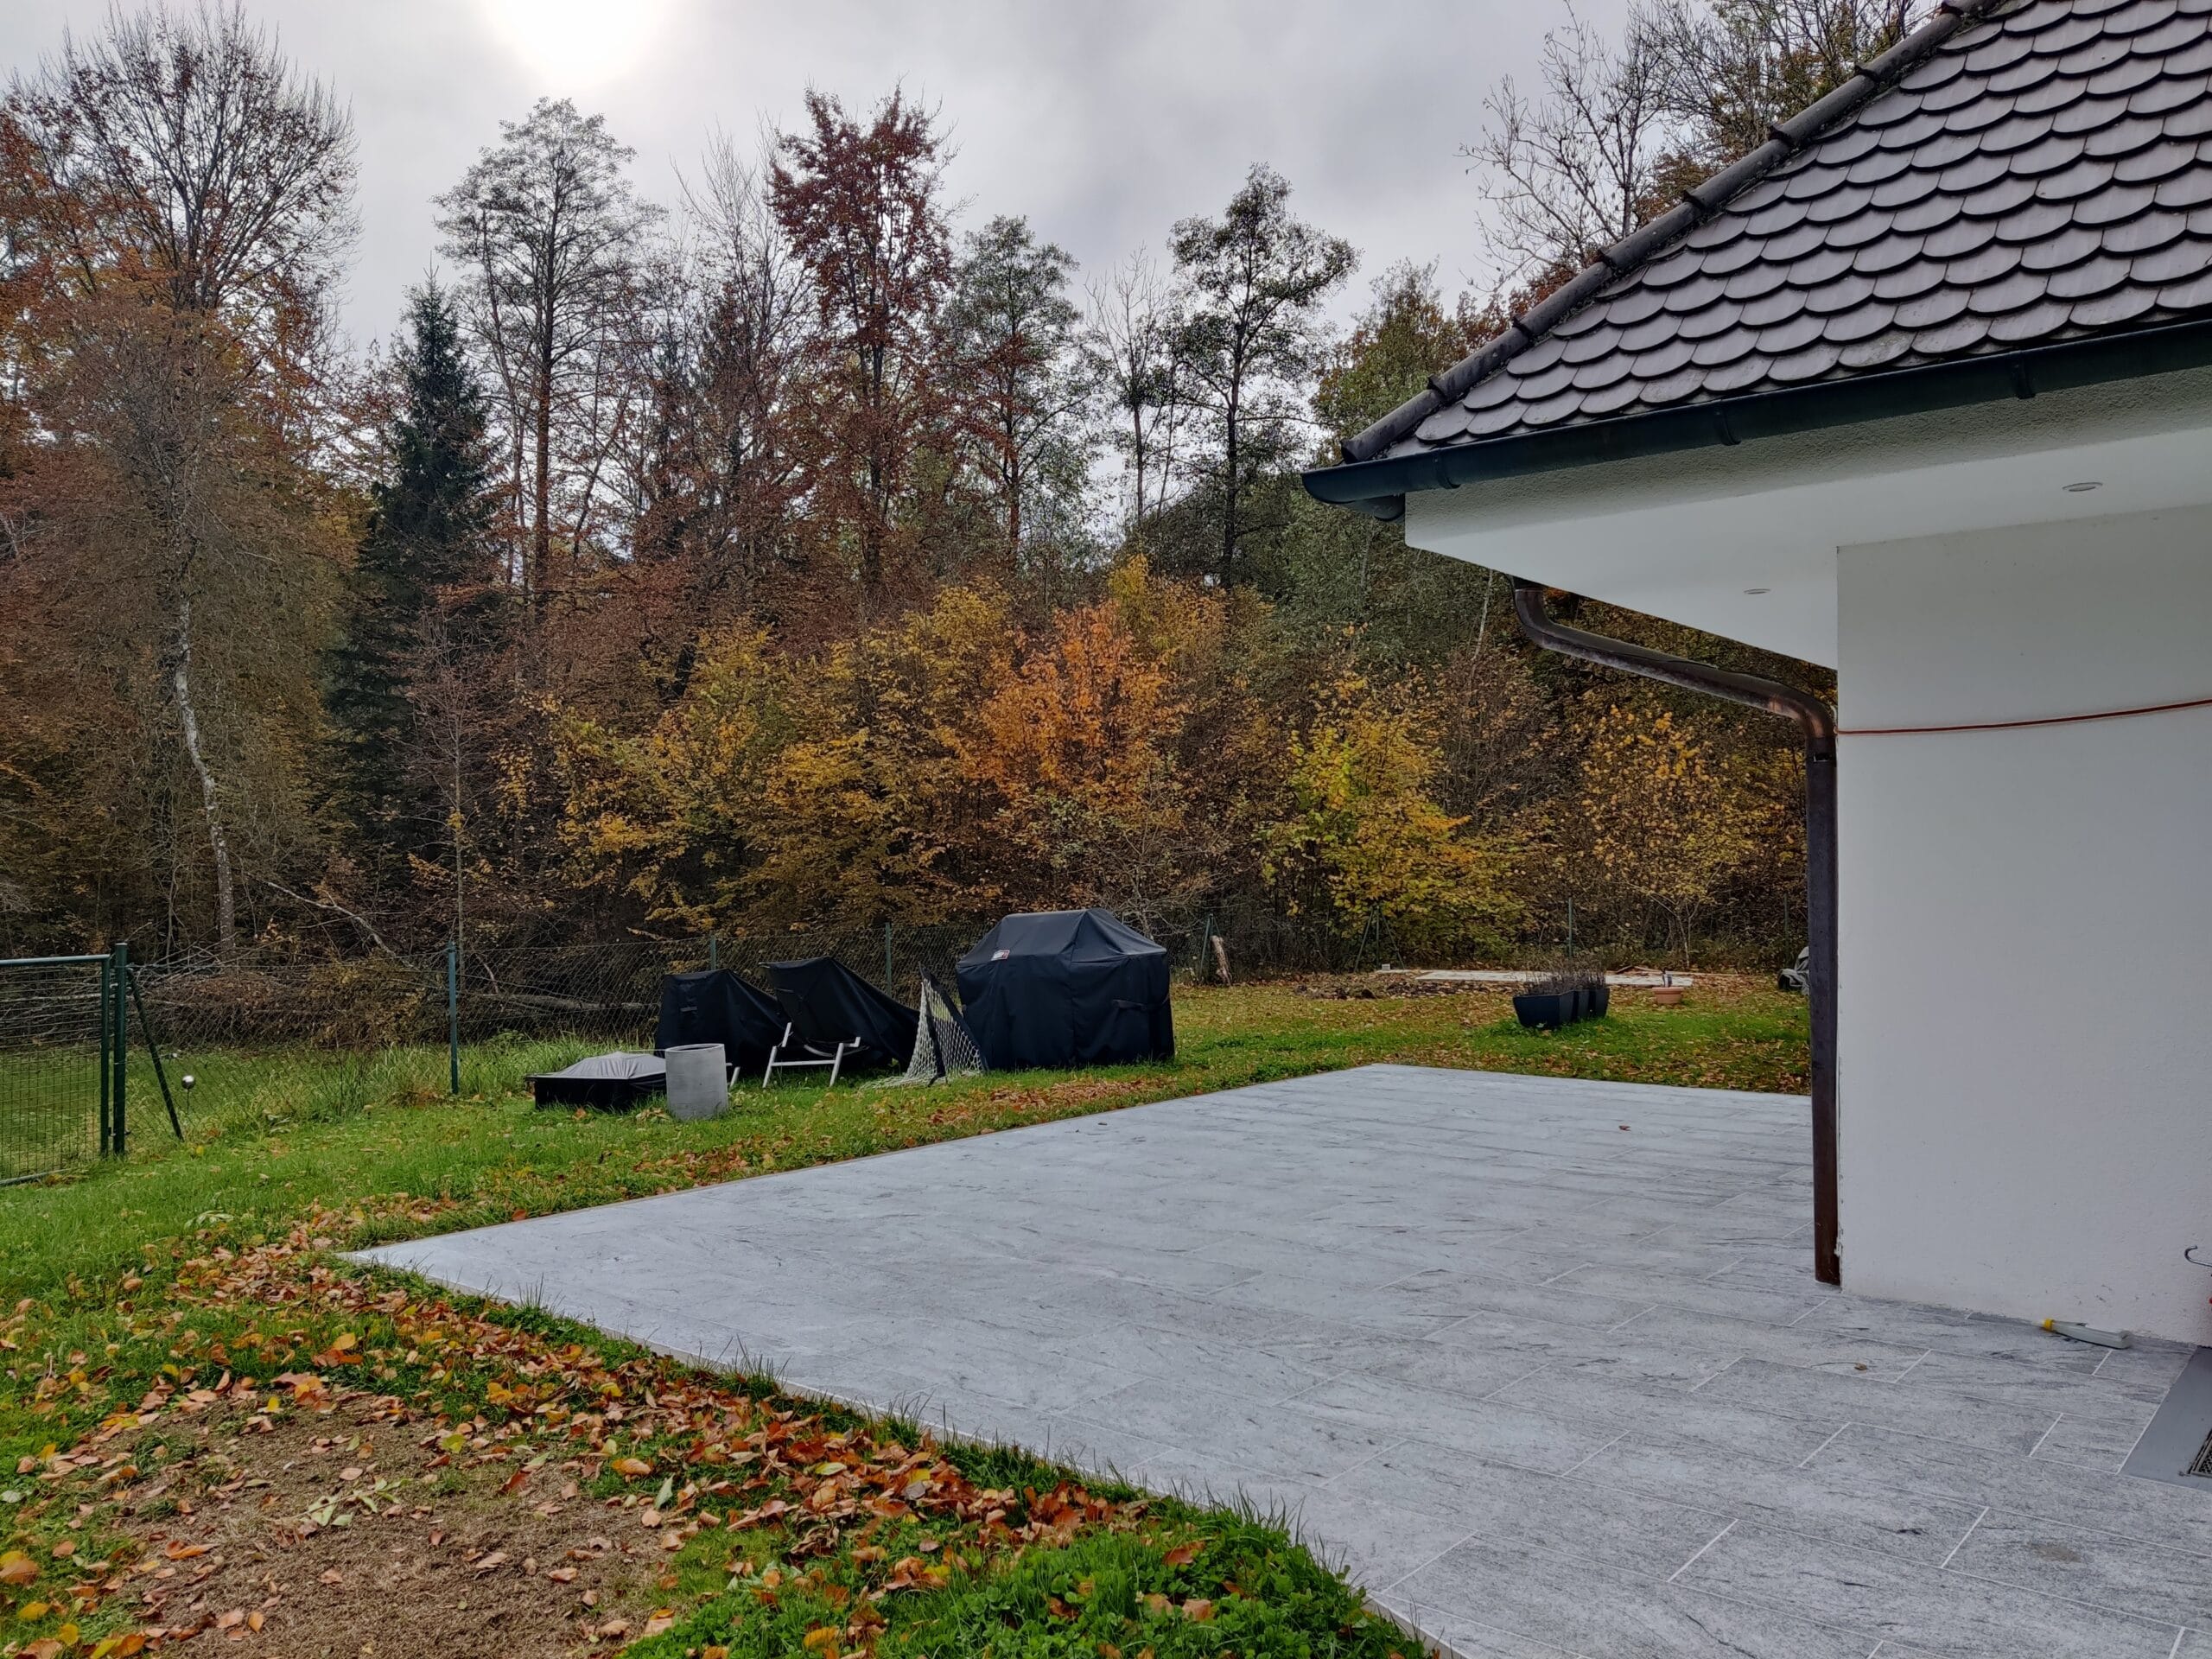
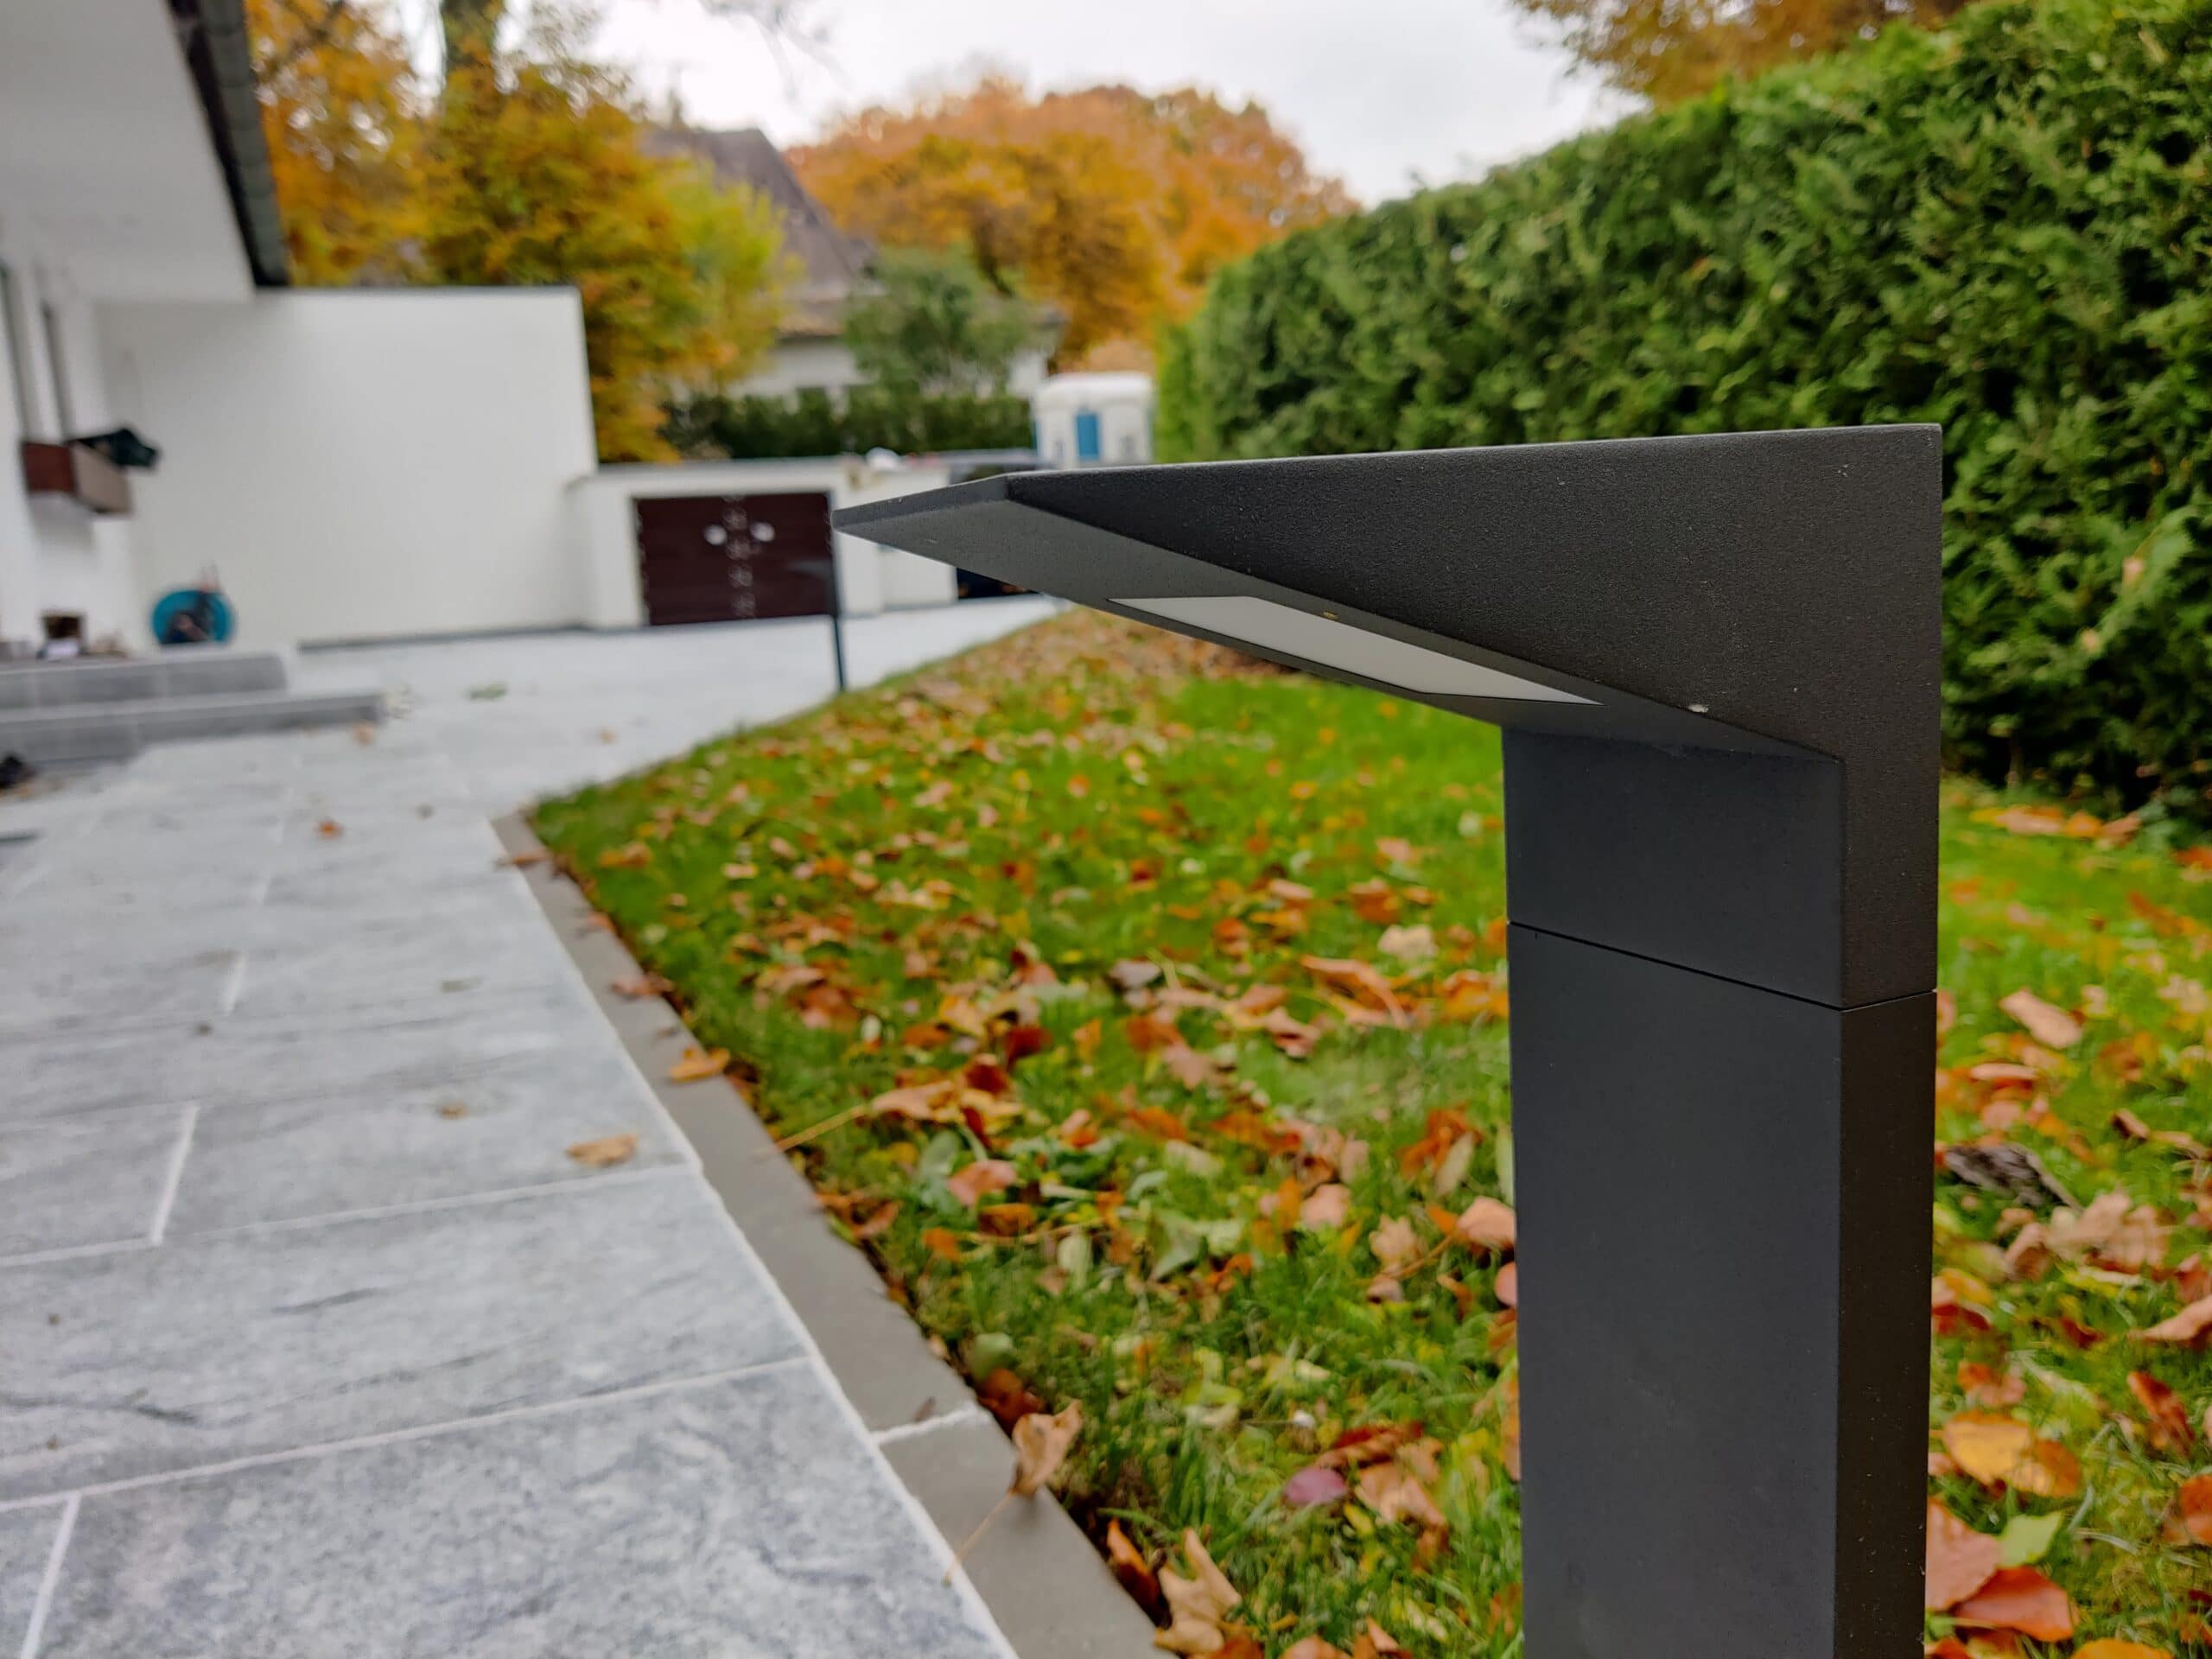
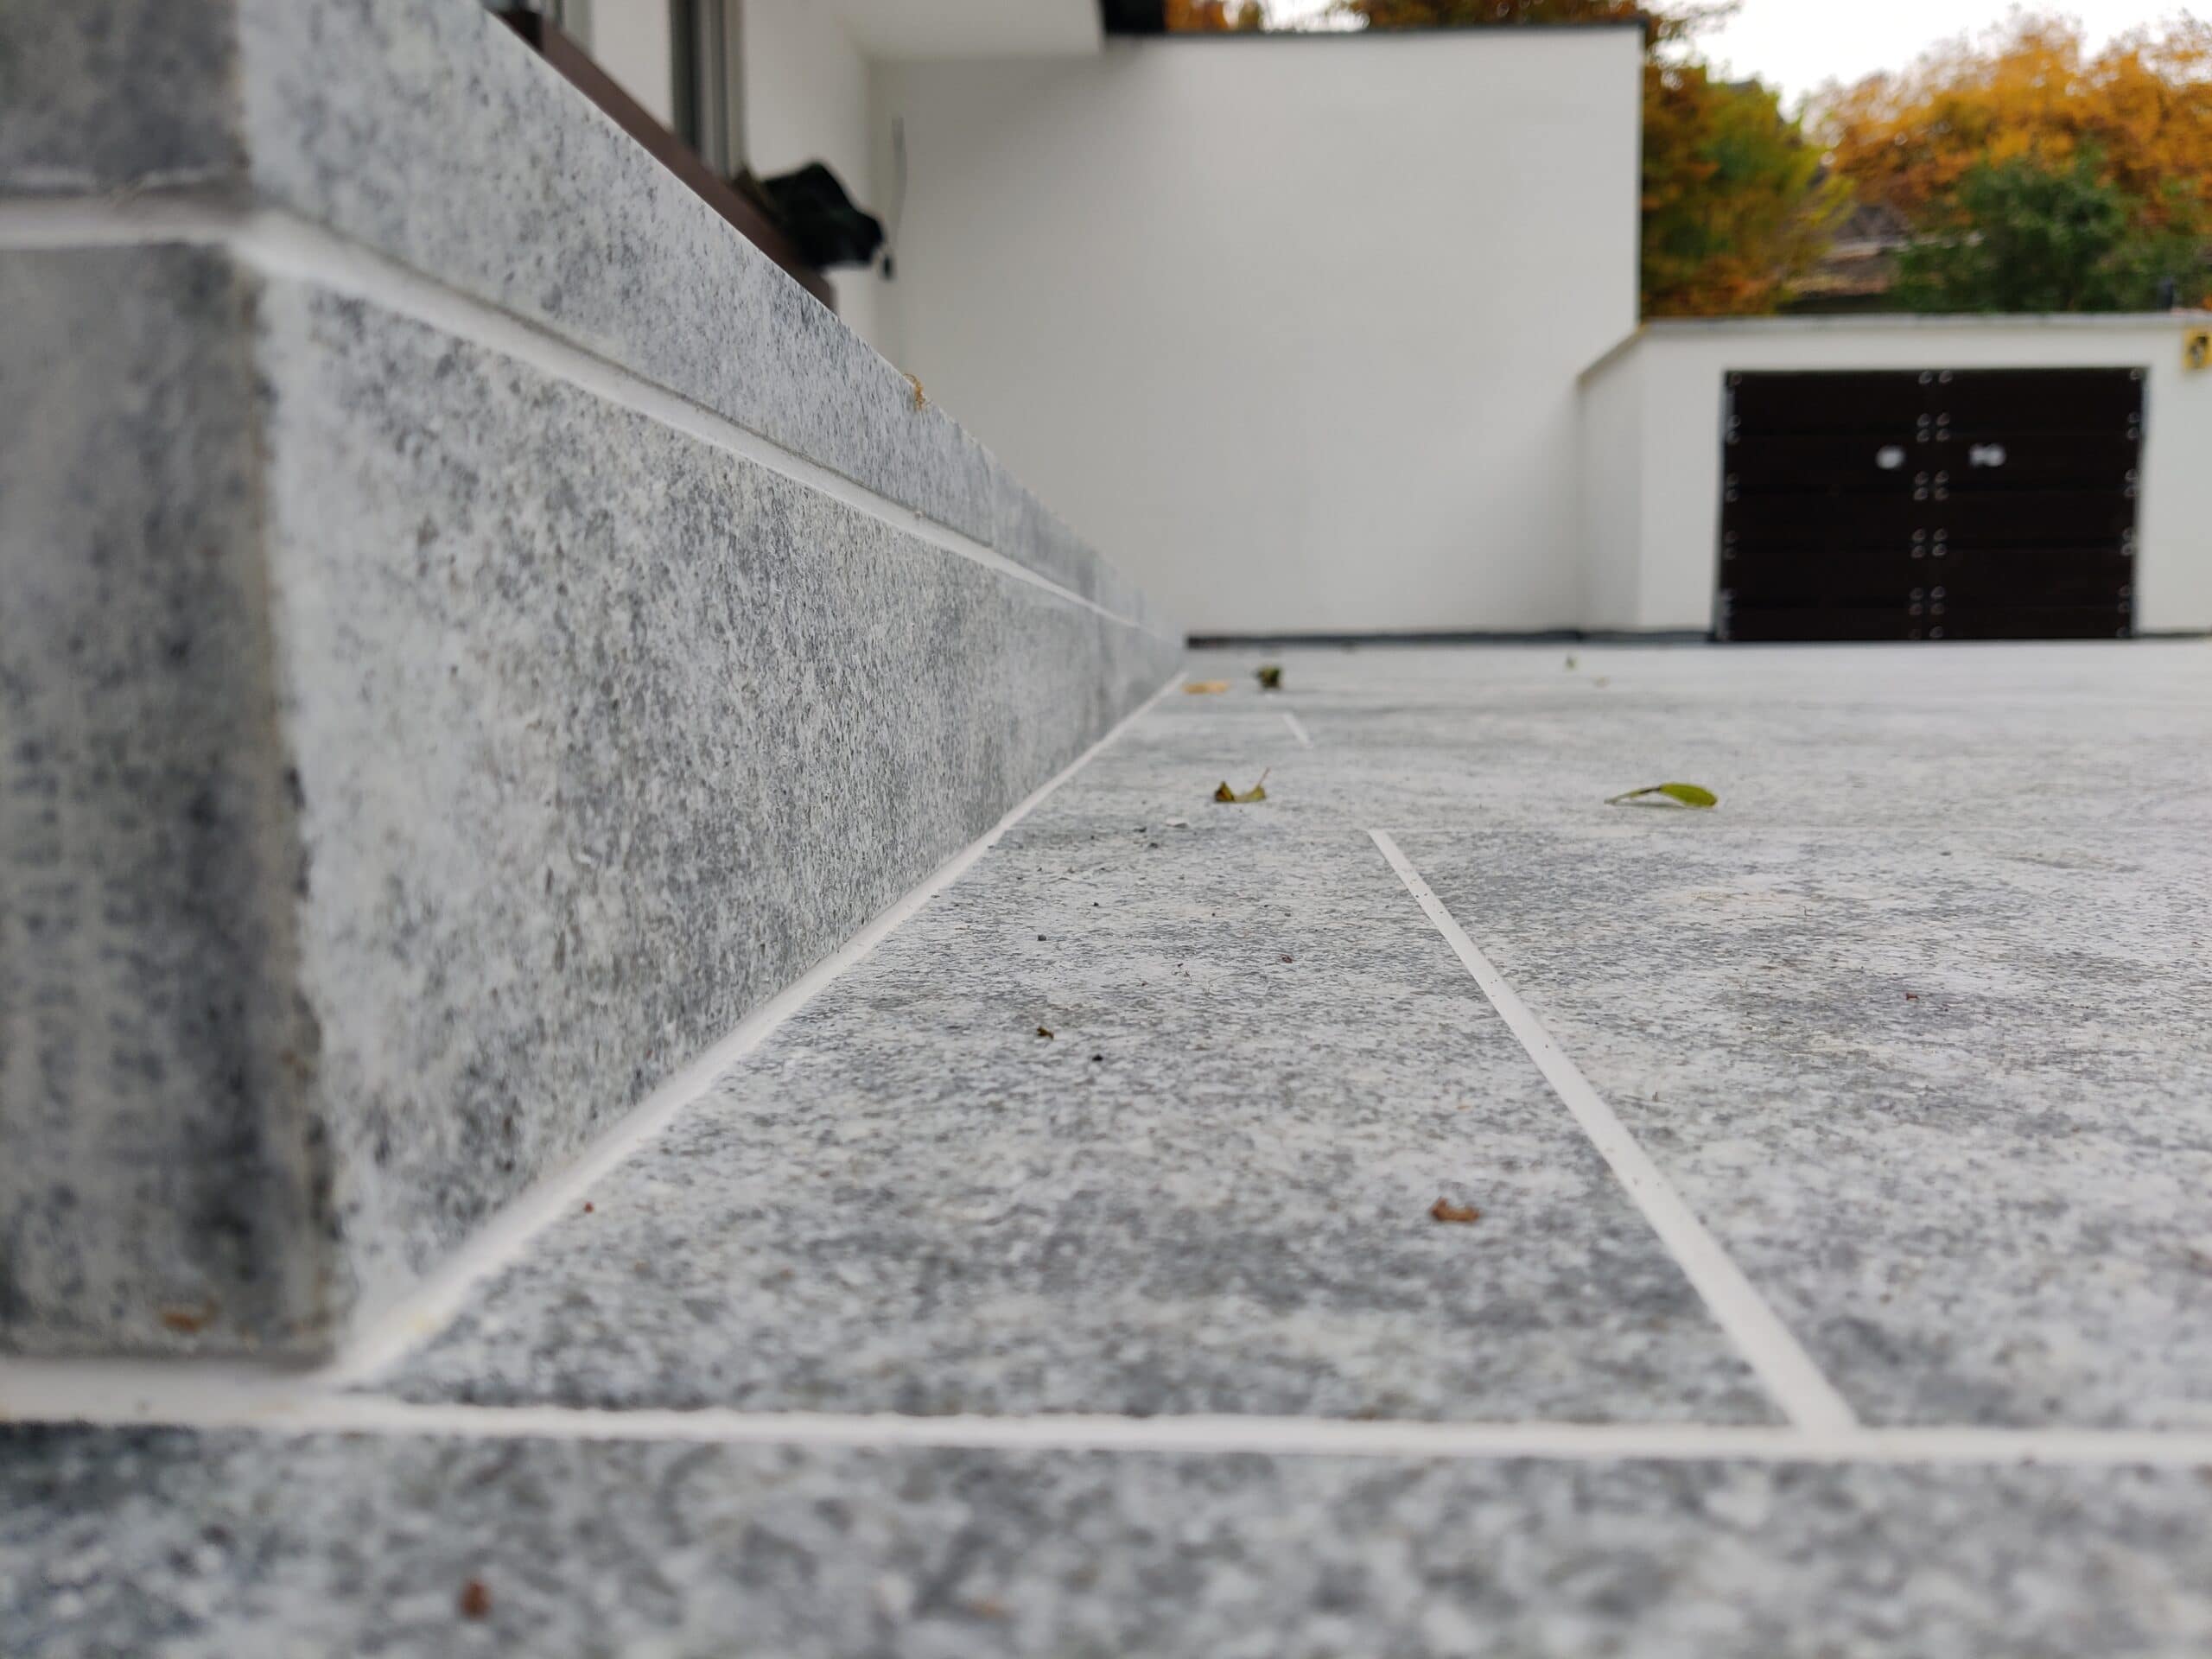
In a quiet place in the Bavarian countryside stands a beautiful family house, enjoying the fresh air of the forest and the blue Lake Starnberg. Our task was to give the facade of the house a fresh color. At the same time, with the help of the selection and installation of appropriate outdoor lighting, it was possible to incorporate and reflect the cozy atmosphere of the surroundings. In addition, natural stone slabs were installed on the terrace to transform the courtyard into a pleasant place to spend time.
With the help of our implementation, in close consultation with our loyal client, it was possible to restore the authentic integration of the house into the landscape.

In a quiet place in the Bavarian countryside stands a beautiful single-family home that enjoys the fresh air of the forest and the blue Lake Starnberg. Our task was to give the facade of the house a fresh color. At the same time, the cozy atmosphere of the surroundings could be captured and reflected by selecting and installing suitable outdoor lighting. In addition, natural stone slabs were installed on the terrace to transform the inner courtyard into a pleasant place to stay.
With the help of our implementation in close consultation with our loyal customer, the authentic integration of the house into the landscape was restored.

Renovation trends 2023: Current developments for a modern home
Every year brings new trends and innovations for the renovation of apartments and houses. In 2023, some interesting trends will take hold that aim to improve and beautify living. Here are some of the top renovation trends in 2023:
Removing or stripping paint from any type of surface is rarely an easy task. Each surface absorbs paint differently, and each type of paint reacts differently to surfaces. Add environmental conditions to the mix and removing paint requires a bit of study and usually some elbow grease.
For years, most professional painters and DIYers have relied on chemical-based paint strippers. While these can do a good job, many are also highly toxic to humans and the environment. Improper use of chemical strippers can cause damage to the respiratory system, brain, nervous system, and skin.
One of the worst offenders and potentially deadly chemicals in paint strippers is methylene chloride. Major hardware stores have removed products containing this chemical from their shelves, but it is still readily available.
Before you tackle any stripping job, you should read the labels on commercial paint strippers. In addition to methylene chloride, it also contains toluene, methanol and acetone as potentially harmful active ingredients.
There are less toxic paint strippers on the market. If you choose a chemical-based paint stripper, choose a paste formula, which is less volatile and toxic because it produces fewer fumes than a liquid formula. Read the instructions for use carefully and always wear protective clothing such as safety goggles, gloves and a face mask.
Soy-based gel color remover
Soy-based paint removers contain methyl soyate, a methyl ester distilled from soybean oil. This bio-based solvent is much more sustainable and environmentally friendly than petroleum-based products. It is low in volatile organic compounds (VOC), is flame retardant and contains no ozone-depleting chemicals.
These soy-based gels are safe to use on wood, concrete and metal and work effectively, but take a little longer to remove the paint from the surface. The product is applied with a brush and can remain on the paint surface for several hours as it does not evaporate or drip. The longer a soy-based paint stripper is left on the paintwork, the easier permanent removal will be.
Citrus-based paint stripper
Citrus-based paint strippers contain terpenes, organic compounds derived from plants, mostly oranges. Another example of a terpene used for paint removal is turpentine, which is made from pine resin.
Citrus-based paint strippers typically smell like oranges or citrus fruits and, like soy-based gels, are slower to remove paint than stronger chemicals. They are safe to use on any painted or varnished surface. Even though these paint strippers are biodegradable, they still contain some harmful chemicals and should be disposed of properly.
Manual color removal
Avoiding any type of paint stripper seems to be the most non-toxic method of removing paint. Unfortunately, paint itself poses some danger, particularly lead-based paint in older homes.
If you choose to remove paint manually, always wear a mask, goggles, and other protective equipment.
There are different methods to remove paint manually.
Scrape off the paint: You can use a plastic or metal paint scraper to remove peeling paint, but you must do so carefully so as not to damage the surface beneath the paint.
Use a heat gun: A heat gun can be used to loosen the paint to the point where it will eventually bubble and become easier to scrape off.
Sand: Using an electric sander or manually removing paint with sandpaper requires patience and skill. Be careful not to sand too deeply or the surfaces will be permanently damaged.
How to Remove Paint from Metal
If you have painted or splattered small metal objects such as door, cabinet, or furniture hardware or outlet covers, the paint can be easily removed with baking soda and boiling water. When the items are heated, the metal and paint expand at different rates, breaking the bond.
What you need
The materials and tools needed to remove paint from metal can be found in most homes.
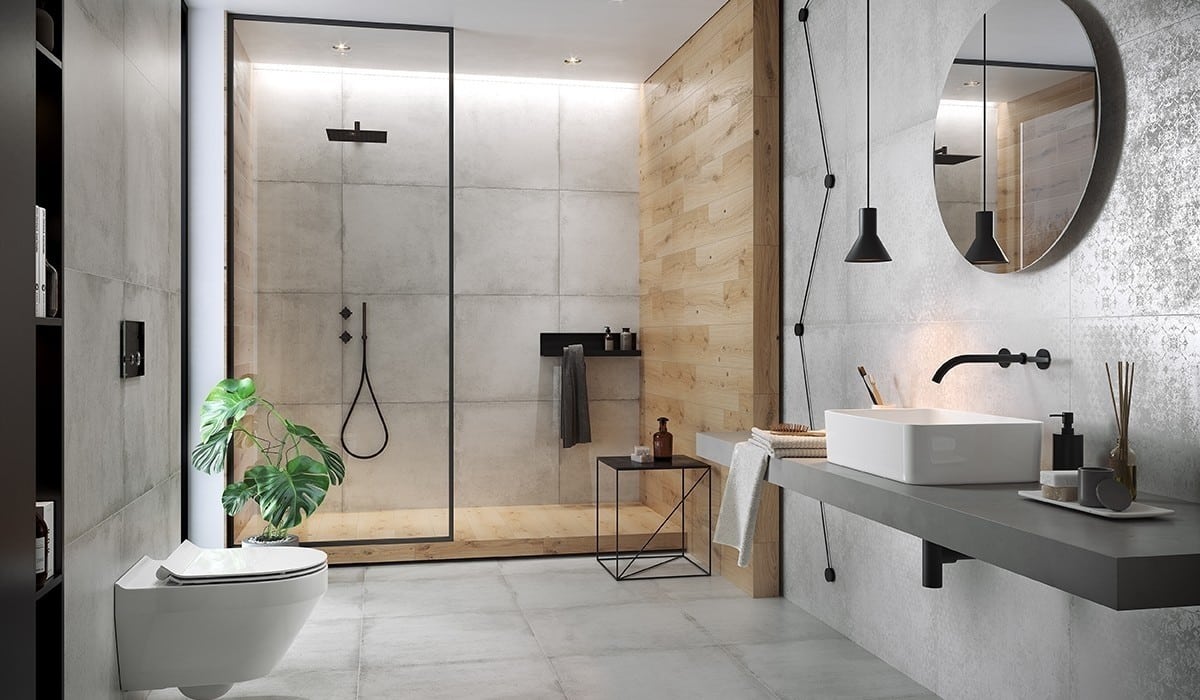
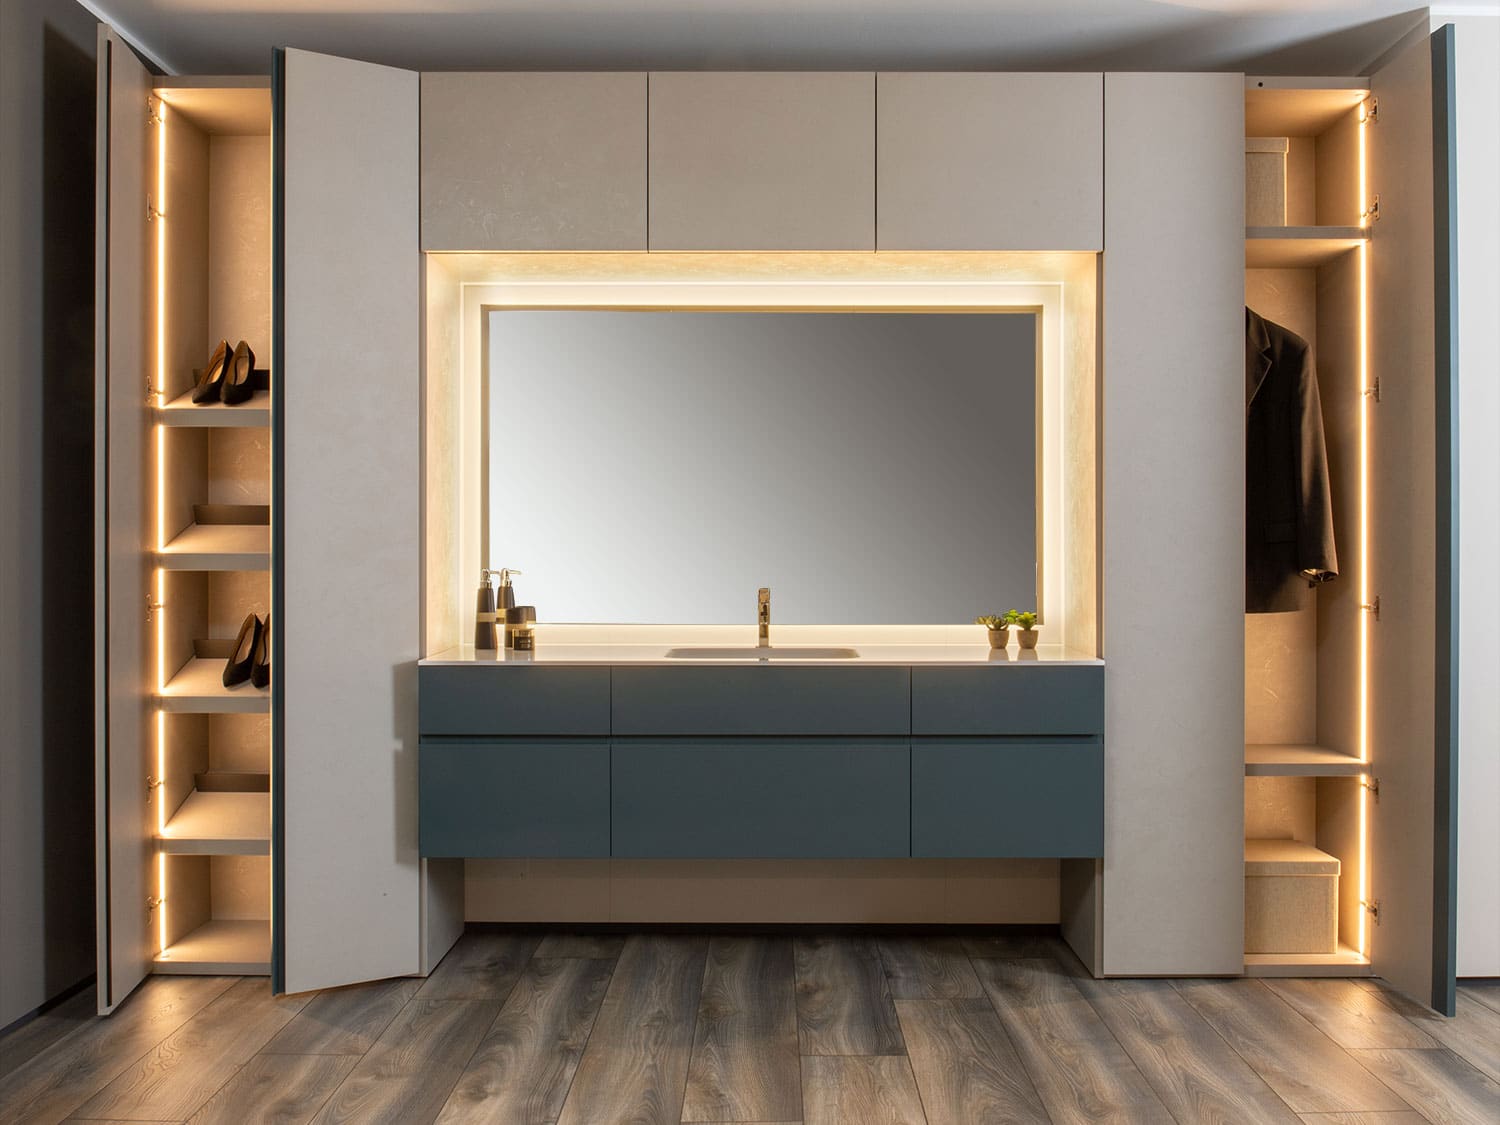
10 tips and advice for bathroom renovation
The bathroom is the place homeowners love to remodel the most, even more than the kitchen. Bathrooms are smaller than kitchens, making the job easier and faster. Plus, the smaller space means less costs: less flooring and paint, fewer cabinets and countertops.
Follow these tips to make your bathroom more attractive while keeping things running smoothly, efficiently and cost-effectively.
Build niches and recesses for extra space
If space is extremely limited, don’t build out, build in.
Built-ins like recessed soap dishes, medicine cabinets, and even toilet paper holders squeeze as much space as possible out of tiny bathrooms. You can even flatten the ceiling light by converting your ceiling light into a recessed light. Build into the walls to create additional storage space.
Bathroom ventilation
According to regulations, all bathrooms must have some form of ventilation, either through a sufficiently large window or through an exhaust fan.
When it comes to bathroom fans, pay attention to both the exhaust capacity (i.e. how many cubic feet of air per minute they can move) and the noise level. Due to the limited space in the bathroom, even a moderately loud bathroom fan can be too loud.
Plants for vibrant color
Plants in the bathroom shouldn’t just be an afterthought. Plants add much-needed color to sterile bathrooms.
Consider adding a floating shelf specifically designed to provide a cozy home for your plants.
Choose the right floor covering
Although solid wood floors give bathrooms a special character, from a practical point of view they are not the best floor covering for bathrooms.
Instead, opt for bathroom flooring that is sturdy enough to withstand the rigors of everyday use. Popular bathroom flooring options include ceramic and porcelain tiles, premium vinyl planks, and vinyl tiles.
Adjust the room size with color
To make a small bathroom appear larger, make sure your color palette is in the white or light color spectrum.
Dark colors make the room seem smaller and claustrophobic. Use white or light-colored fixtures (e.g. the toilet and the bathtub). Think carefully about painting your bathroom ceiling a color other than white or off-white, as this will shrink the space even more.
Bathroom lighting is important
In a room where people need to inspect their hair and face, the lighting is usually very dim and focused on only one point – namely the ceiling light.
At the very least, consider adding additional lighting around the bathroom mirror in the form of wall sconces. However, blinding light is not always desirable.
A very simple device that can add a special mood to your bathroom is a dimmer switch. The dimmer switch is perfect for relaxing late-night baths.
Add free-standing elements
If space allows, many interior designers recommend using a freestanding piece of furniture, such as a decorative chair or cabinet, as a design element.
To make up for this space, you can incorporate other practical elements such as laundry baskets or simply move the laundry basket to another room. Of course, this decorative piece can also serve a practical purpose by serving as a shelf for towels, soap or other small items.
More ways to hang items
Hooks are the easiest way to add space to a bathroom without creating an actual countertop. Hooks can be used for everything from clothes to bathrobes to towels. Place hooks on the back of doors, on the side of cabinets, or on unused sections of wall.
Add more mirrors in the bathroom
When most people think of mirrors in the bathroom, they only think of checking makeup or hair.
But it is also important to view mirrors in the bathroom as design elements that visually expand the space and provide more light in the room. Many homeowners add a secondary mirror above the sink in addition to the primary mirror.
In small bathrooms, you should use large-format mirrors that extend over the entire wall.
Leave space behind the mirrors to allow air circulation and prevent mold growth.
Use wall paneling for protection and appearance
Wall coverings have two important functions. First, it gives an antique look where appropriate and is very easy to install. Secondly, wainscoting has the very valuable function of protecting the lower part of the walls from the inevitable splashes of water that come from the bathtub or shower in bathrooms.
A good coat of oil-based paint will ensure the pearl wall is virtually impervious to moisture. If pearlboard doesn’t stylistically suit your space, consider covering the bottom 16 to 19 inches of the wall in tile. Tiles also fulfill the same purpose, namely to protect the walls from moisture, and offer endless design possibilities.


")


